Wet Rooms Replace Tubs: What the Buyer Interest Shift Means for Your Bathroom
A wet room typically costs between $12,000 and $28,000, with most midrange projects landing near $18,000. The 11 percent rise in buyer interest makes zero-threshold showers worth considering, yet waterproofing quality determines long-term value more than current trends.
Project Snapshot
Factor Practical expectation Cost range $12,000 to $28,000 Typical timeline 2 to 5 weeks Waterproofing lifespan 20 to 30 years with proper installation Best season Any season for interior work, with contractor availability affecting the schedule DIY friendly Limited, surface work only Main decision Convert the tub area or renovate the full bathroom
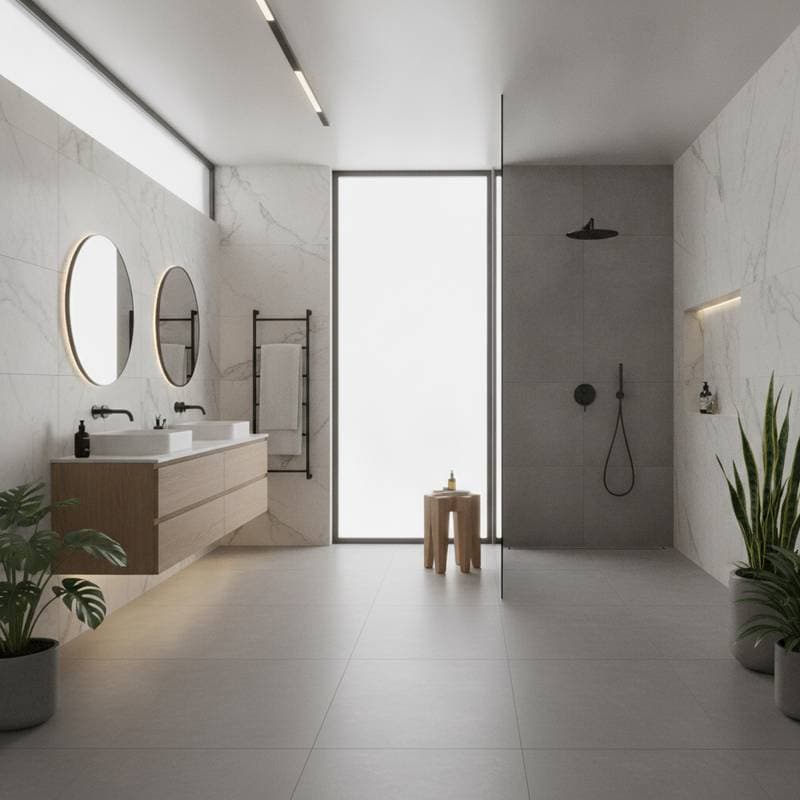
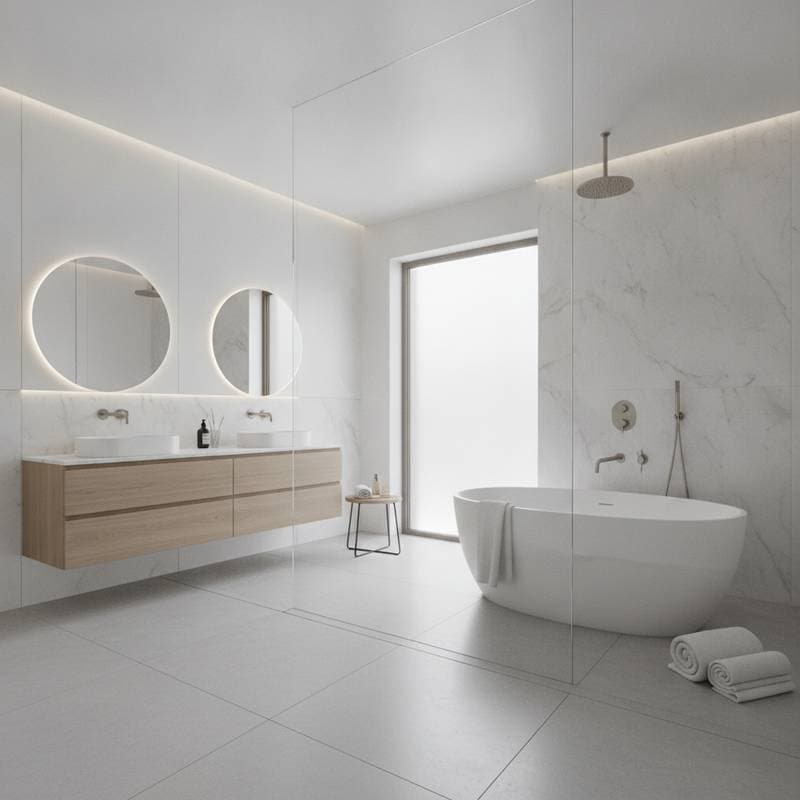
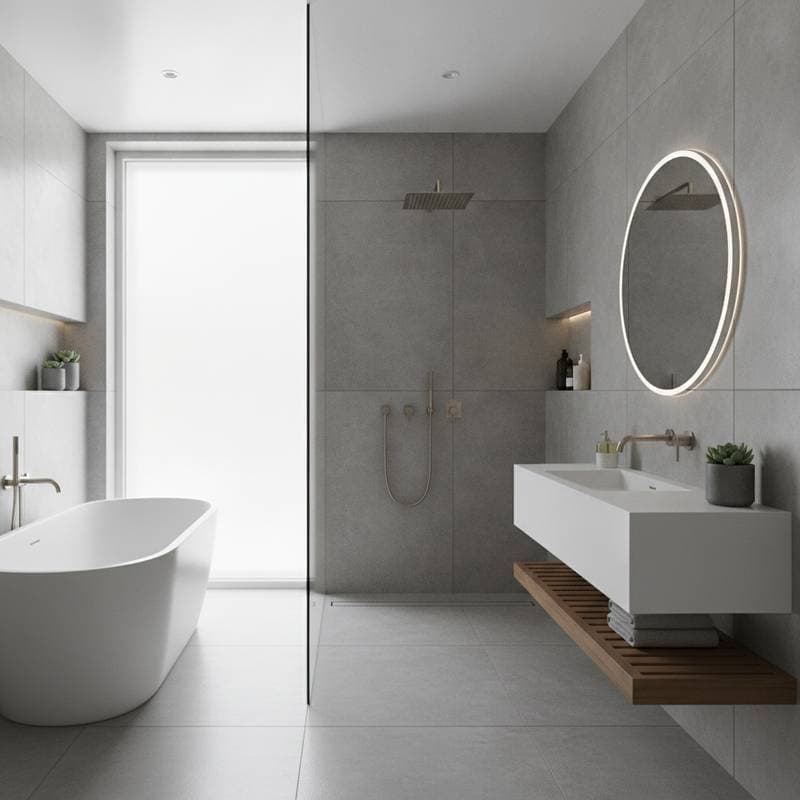
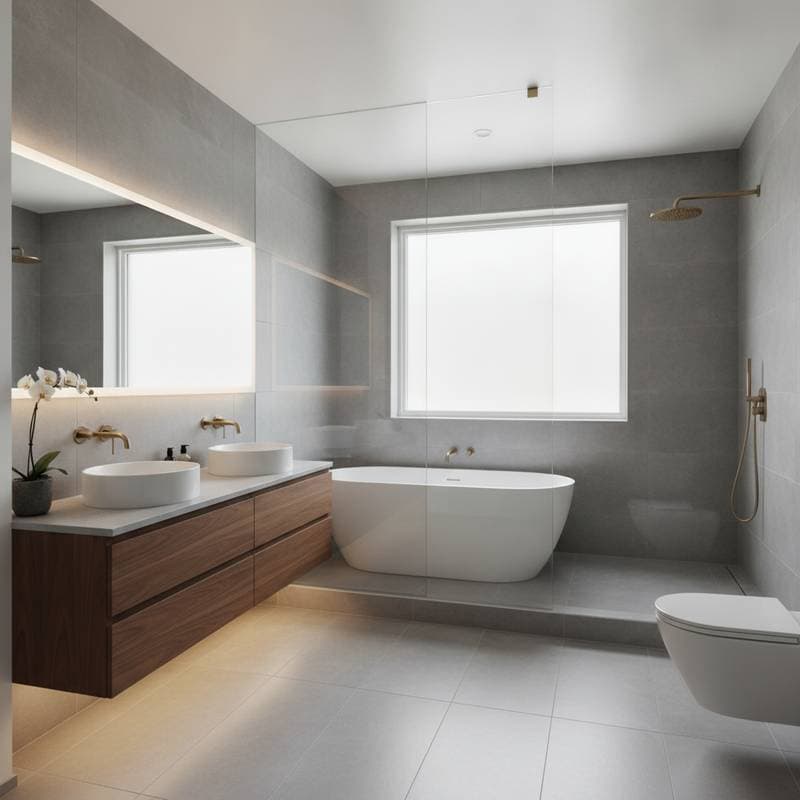
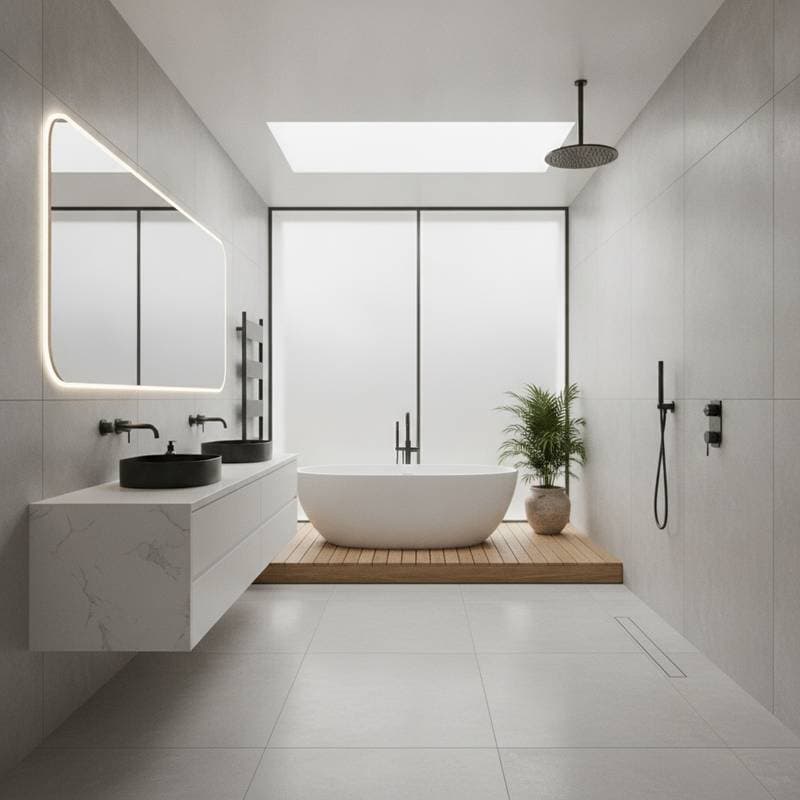
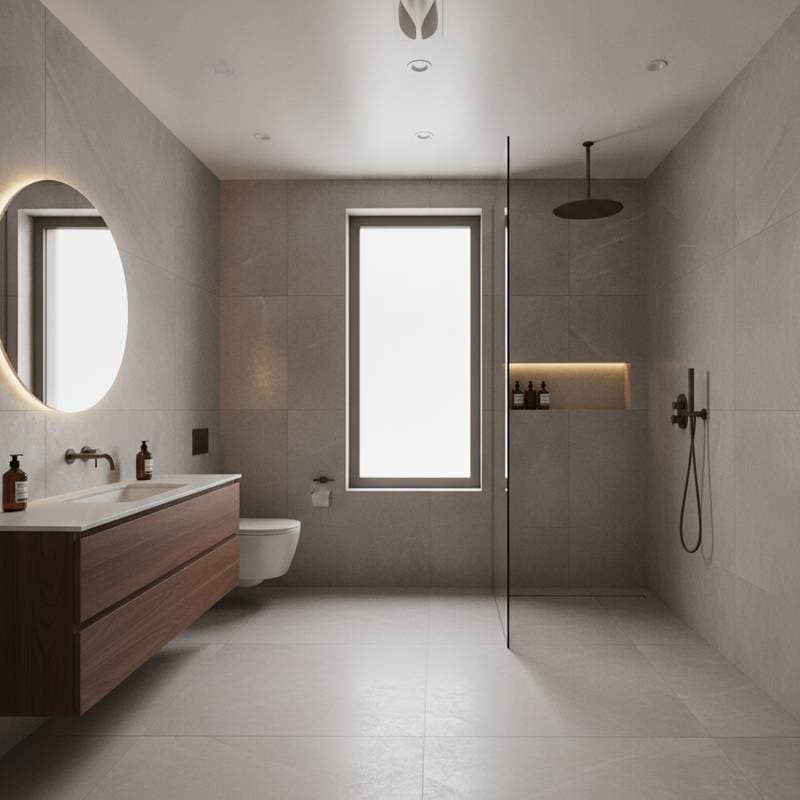
A wet room converts the shower area, and sometimes the entire bathroom floor, into a waterproofed space. A zero-threshold shower removes the raised curb. This creates easier access, a cleaner look, and fewer trip hazards.
Why Wet Rooms Are Gaining Buyer Interest
Buyer interest in wet rooms is reported to be 11 percent higher for upcoming home searches. That figure does not guarantee a higher sale price. It does show that accessible bathrooms now attract more attention, especially from buyers planning to stay in a home.
The strongest appeal comes from practical benefits. Easier entry helps children, older adults, and anyone with limited mobility. Fewer grout lines and ledges mean less cleaning. Compact bathroom layouts gain better use of space. A modern appearance emerges without relying on a freestanding tub. Flexibility increases for adding a bench, handheld shower, or wider entry.
A tub can still make sense in a family home. Some buyers want one for bathing children or pets. If your home has only one bathroom, removing the tub may narrow your audience. If you have two or more bathrooms, converting one tub area often gives you the best balance.
Cost Factors That Change the Quote
Wet room pricing depends on the work below the visible finishes. Ask for each item in writing.
Materials and waterproofing
Expect $1,500 to $4,500 for a complete waterproofing system. This includes a sloped shower base, membrane, drain, corners, and sealing materials. The drain and floor slope need to work as one system. Mixing incompatible components can create leaks.
Tile often costs $8 to $35 per square foot for material. Large-format tile can reduce grout lines, but it requires flatter walls and more careful handling. Small mosaic tile provides traction on sloped floors, yet it uses more grout and takes longer to install.
Labor
Labor often represents 40 to 60 percent of the project. A skilled installer must remove finishes, adjust plumbing, build slope, waterproof the walls and floor, set tile, and test drainage.
A simple tub conversion costs less than a full room conversion. Moving the drain, toilet, or vanity can add $2,000 to $7,000 before finish upgrades.
Size and access
A compact tub replacement may cover 35 to 60 square feet. A full wet room can cover 60 to 100 square feet or more. Larger spaces require more membrane, tile, trim, labor, and drying time.
Tight stairways, occupied homes, limited parking, and difficult debris removal also raise labor costs. Budget an extra 10 to 15 percent for surprises in older homes.
Permits and disposal
Permit needs depend on your local rules. Plumbing changes, drain relocation, electrical work, structural changes, and new ventilation often trigger permits. Ask who pulls them and who schedules inspections.
Demolition debris may add $300 to $900. Lead paint, asbestos, water damage, or mold requires specialized handling. Stop work if you find soft framing, blackened materials, or a persistent musty smell.
Add-ons
Common additions include a frameless glass panel for $700 to $2,000, a linear drain for $500 to $1,500, and heated floor for $1,000 to $2,500. A built-in bench costs $900 to $2,500, while a handheld shower and supply bar run $300 to $1,000. A quieter exhaust fan costs $250 to $700.
If you do one upgrade, make it better ventilation. It prevents lingering moisture, peeling paint, and premature grout failure.
Good, Better, and Best Approaches
Good: Tub to zero-threshold shower
Budget $12,000 to $17,000 for a basic conversion that keeps plumbing in place. Use durable porcelain tile, a standard center drain, a fixed glass panel, and a surface-mounted handheld shower.
This works well when the existing floor structure allows a low entry. It may not qualify as a fully open wet room if the rest of the bathroom remains outside the waterproofed area.
Better: Expanded wet zone
Budget $17,000 to $24,000 for waterproofed shower walls, a sloped floor, improved storage, a bench, and upgraded ventilation. A wider entry improves access and reduces the need for a shower door.
This option usually delivers the strongest balance of comfort, resale appeal, and maintenance.
Best: Full bathroom wet room
Budget $24,000 to $35,000 or more when you move fixtures, reinforce the floor, install a linear drain, add radiant heat, and use premium tile or custom glass.
Choose this only when the layout needs a complete reset. Luxury finishes do not fix poor drainage or weak waterproofing.
DIY Versus Hiring a Pro
You can handle limited tasks if you have basic tools and patience. Remove accessories and nonstructural trim. Paint ceilings and dry walls. Install towel bars and storage. Remove old caulk. Transport small materials. Clean and seal grout after the required cure period.
Hire a licensed or highly experienced bathroom professional for drain relocation, shower pan construction, waterproofing, electrical work, structural floor changes, gas or water shutoff changes, and permit work and inspections.
The main risks are hidden leaks, improper slope, damaged framing, and unsafe wiring. Waterproofing errors may remain invisible until the subfloor swells or the ceiling below stains.
Before demolition, locate and shut off water and power serving the work area. Wear eye protection, gloves, hearing protection, a respirator suited to the dust, and slip-resistant footwear. Test for live wires before cutting. Never cut into a wall or floor until you know where pipes and cables run.
Steps to Plan the Project
1. Check the layout
Measure the bathroom, tub footprint, door swing, toilet clearance, and vanity depth. A zero-threshold entry needs enough room for the shower user and a safe path into the space.
2. Inspect the structure
Ask a contractor to check the subfloor, joists, plumbing depth, wall framing, and ventilation. A recessed shower base may require structural work. Do not allow anyone to cut joists without an approved repair plan.
3. Choose the drainage approach
A center drain costs less and suits a compact shower. A linear drain supports a wider entry and can simplify the visual layout. Both need correct slope, usually about 1/4 inch per foot, though the selected system may specify another requirement.
4. Select surfaces for safety
Use matte or textured tile on the shower floor. Avoid polished stone in areas that become wet. Smaller floor tile creates more grout joints and often improves traction.
5. Confirm the waterproofing test
Ask the installer to complete a flood test before tile installation when the system allows it. The test checks for leaks before finishes hide the membrane.
6. Plan glass and storage
A fixed panel needs enough length to block spray. A shower curtain costs less and gives easier access, but it can allow more water into the room. Recessed niches need careful waterproofing. Surface-mounted shelves reduce wall cuts and installation risk.
Timing, Savings, and Availability
Plan for 2 to 5 weeks of construction. A simple conversion may take less. Full renovations take longer when permits, custom glass, special tile, or fixture orders are involved.
The largest delays usually come from permit inspections, custom glass measurements after tile work, backordered drains or trim, hidden water damage, tile shortages, and extra framing or plumbing repairs.
Get three written bids with matching scopes. Compare waterproofing systems, drain details, ventilation, permits, disposal, and warranty terms. A low bid that omits membrane work is not a saving.
Keep plumbing in place when possible. Choose readily available tile sizes. Order the drain, valve, glass, and specialty trim before demolition. Ask about rebates for efficient exhaust fans or electric floor heating, but confirm eligibility before choosing equipment.
Maintenance and Warranties
Clean the shower floor weekly with a nonabrasive cleaner. Remove hair from the drain before water backs up. Dry glass after use if mineral deposits build quickly. Recaulk corners when the seal cracks, pulls away, or turns dark.
Grout is usually the first visible finish to fail. Keep the exhaust fan running during showers and for 20 to 30 minutes afterward. Repair loose tile or damaged sealant promptly.
Ask for written coverage on labor, waterproofing, tile installation, plumbing, glass, and electrical components. A product warranty may not cover installation errors. Keep permit records, product instructions, photos of concealed work, and paid invoices.
Your Next Steps
- Decide whether you need a tub elsewhere in the home.
- Measure the existing tub area and photograph every wall, valve, drain, and vent.
- Request three itemized quotes for a zero-threshold conversion.
- Ask each contractor how they will slope, waterproof, and test the shower floor.
- Reserve 10 to 15 percent of your budget for hidden damage.
- Choose ventilation and drainage before decorative tile.
- Do not start demolition until permits, materials, and the installation schedule are confirmed.