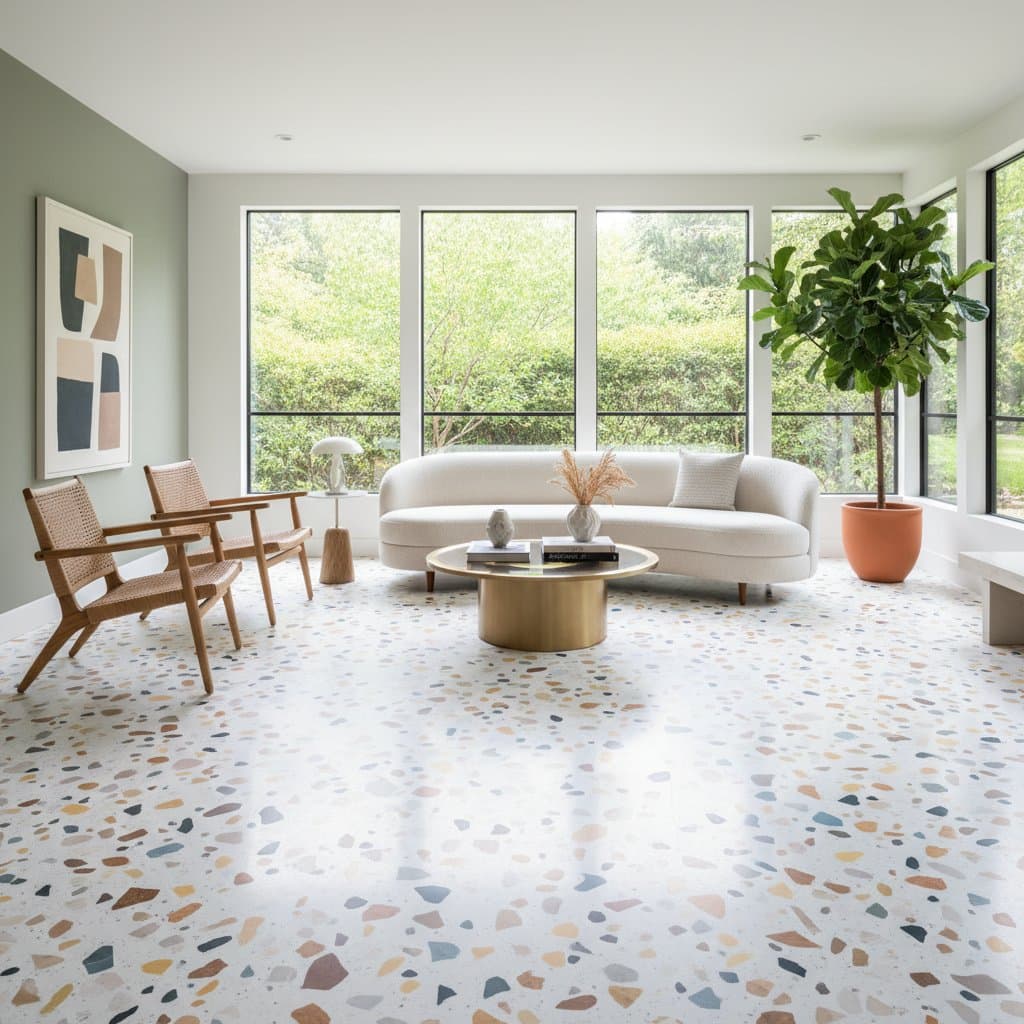
Terrazzo Flooring Revival in 2025: Achieve a 6 Percent Increase in Home Value
Terrazzo flooring returns with strong appeal for homeowners seeking enduring elegance. This installation method elevates property resale value by approximately 6 percent due to its unique combination of aesthetic versatility, robust construction, and sustainable qualities.
Homeowners benefit from a surface that endures for generations while enhancing visual interest. The following sections detail the installation process, associated expenses, and scenarios requiring professional expertise.
Installation Process for Terrazzo Flooring
The creation of terrazzo flooring involves skilled craftsmanship and meticulous preparation. Professionals follow a structured sequence to ensure a flawless result.
1. Subfloor Preparation
Begin with a thorough assessment of the subfloor. It requires cleanliness, dryness, and perfect levelness to support the terrazzo layer. Concrete subfloors provide an ideal foundation, while wooden ones demand additional reinforcement, such as plywood underlayment, to eliminate any flexing that could lead to cracks over time.
2. Application of the Base Layer
Apply a primer or bonding agent to promote strong adhesion between the subfloor and terrazzo mixture. In cement-based systems, the base consists of a sand-cement mortar approximately one inch thick. Epoxy-based variants use a resin undercoat that cures quickly and offers flexibility for intricate designs.
3. Placement of Divider Strips
Install metal or plastic divider strips to outline patterns, separate color zones, and prevent uncontrolled cracking. These strips, typically one-eighth inch thick, allow for custom motifs like geometric shapes or borders, adding architectural depth to the floor.
4. Pouring and Spreading the Terrazzo Mixture
Mix the aggregate chips—such as marble, quartz, or recycled glass—with the binder until uniform. Pour the blend and trowel it to a consistent thickness of one-half to three-eighths inch. Maintain steady progress during this phase, as the mixture begins to set within 30 to 60 minutes, depending on ambient conditions.
5. Grinding and Polishing Stages
Allow the terrazzo to cure for 24 to 72 hours before initial grinding. Use progressively finer diamond-grit pads to smooth the surface and expose the embedded chips, creating a mosaic effect. Final polishing with buffing compounds achieves a high-gloss finish that reflects light beautifully.
6. Surface Sealing
Apply a penetrating sealer to shield against moisture, stains, and wear. Penetrating options, like silane or siloxane formulas, integrate into the pores without altering the appearance. Reapply every three to five years in moderate-traffic areas to sustain protection.
Project Timeline Considerations
Terrazzo projects demand patience, but the investment yields long-term rewards. Epoxy terrazzo installations typically require three to five days of hands-on labor, followed by 24 hours of curing. Cement terrazzo extends to seven to ten days, with larger areas potentially adding extra time for drying between layers.
Environmental factors influence duration significantly. High humidity delays curing, while temperatures below 50 degrees Fahrenheit slow the chemical reactions in epoxy binders. Plan for minimal disruption by scheduling during off-peak seasons.
Installed correctly, terrazzo withstands daily use for over 40 years, often outlasting multiple homeownership cycles with only periodic upkeep.
Essential Tools and Materials
Gather specialized equipment to achieve professional-grade results. This preparation minimizes errors and ensures safety throughout the process.
Required Tools:
- Industrial concrete grinder equipped with diamond segments
- Power mixer with paddle attachment for blending aggregates
- Precision trowels in various sizes for spreading
- High-speed floor polisher with adjustable pads
- Industrial vacuum and dust collection system
- Personal protective equipment, including safety goggles, nitrile gloves, and a particulate respirator
Key Materials:
- Epoxy resin or cementitious binder, selected based on project scale
- Aggregate chips in desired sizes (one-eighth to one-half inch) and colors
- Aluminum or zinc divider strips for patterning
- Acrylic or epoxy primer for subfloor adhesion
- Neutral-pH sealer compatible with the binder type
Experienced contractors often employ proprietary tools, such as low-dust grinders, to maintain air quality and precision during on-site work.
Upkeep and Durability Strategies
Sealed terrazzo demands minimal routine care to preserve its luster. Perform weekly sweeping or vacuuming with a soft brush attachment to remove abrasive particles. For deeper cleaning, use a pH-neutral detergent diluted in water and a microfiber mop, ensuring the floor dries completely to prevent water spots.
Steer clear of acidic substances, such as vinegar or citrus-based cleaners, which erode the binder over time. In high-traffic zones, schedule professional resealing every two to three years. Restoration techniques, like light grinding and repolishing, revive dulled surfaces without material loss.
Small repairs address isolated damage effectively. Fill chips with a color-matched epoxy compound, then blend by light sanding and resealing. Unlike carpeting or hardwood, terrazzo resists allergen accumulation and moisture retention, promoting healthier indoor environments for sensitive individuals.
Indicators for Professional Assistance
Engage certified terrazzo artisans for complex scenarios. Seek experts when subfloor irregularities exceed one-eighth inch or when integrating multiple hues and custom inlays, such as family crests or company logos.
Refinishing existing terrazzo restores vitality economically. Technicians grind away one-sixteenth inch of surface material, repair fissures, and apply fresh tints to update dated palettes. For properties nearing sale, this targeted renewal maximizes the 6 percent value uplift without the expense of complete removal.
Expert Recommendations for Optimal Results
-
Select colors with foresight. Polished chips appear brighter than in raw form; request sample boards viewed under your home's specific lighting to confirm harmony with walls and furnishings.
-
Maintain environmental stability. Hold room temperatures between 65 and 85 degrees Fahrenheit during curing to avoid thermal stress that induces fractures.
-
Reinforce transition areas. Install threshold strips at junctions with dissimilar flooring to shield edges from impact and facilitate smooth movement.
-
Adhere to curing intervals. Wait the full recommended period—often 48 hours per layer—before proceeding, as premature grinding results in irregular textures.
-
Implement entry protections. Place durable mats at doorways to trap outdoor debris, extending the interval between full cleanings.
Frequently Asked Questions
What components form terrazzo?
Terrazzo comprises aggregate chips of marble, quartz, glass, or shell embedded in a matrix of cement, epoxy, or polyacrylate binders.
What is the expected lifespan of terrazzo?
Properly maintained terrazzo endures beyond 40 years, with many installations from the mid-20th century still in service today.
Is installation possible over existing tiles?
Affirmative, provided the underlying tile remains stable and level. Contractors perform adhesion tests and may apply a leveling compound if needed.
Does terrazzo present slip hazards?
High-gloss finishes can become slippery when wet. Opt for satin sealers or incorporate textured aggregates in moisture-prone areas like bathrooms.
What cleaning methods suit terrazzo?
Employ mild, neutral-pH solutions with non-abrasive tools. Harsh abrasives or ammonia-based products damage the polish and binder integrity.
Steps to Integrate Terrazzo into Your Home
Evaluate your space's needs against terrazzo's strengths in durability and design flexibility. Consult local specialists for site-specific quotes, factoring in material choices and labor rates that range from 15 to 25 dollars per square foot. This upgrade not only enhances immediate livability but positions your property favorably in competitive markets, securing that valuable 6 percent resale premium.


