Boost Home Sales 15 Percent with Hidden Panic Rooms
A hidden panic room increases a home's resale value by up to 15 percent. Prospective buyers value the added security, privacy, and distinctive feature. This fortified space safeguards occupants and valuables while distinguishing the property in competitive markets.
Understanding Panic Rooms
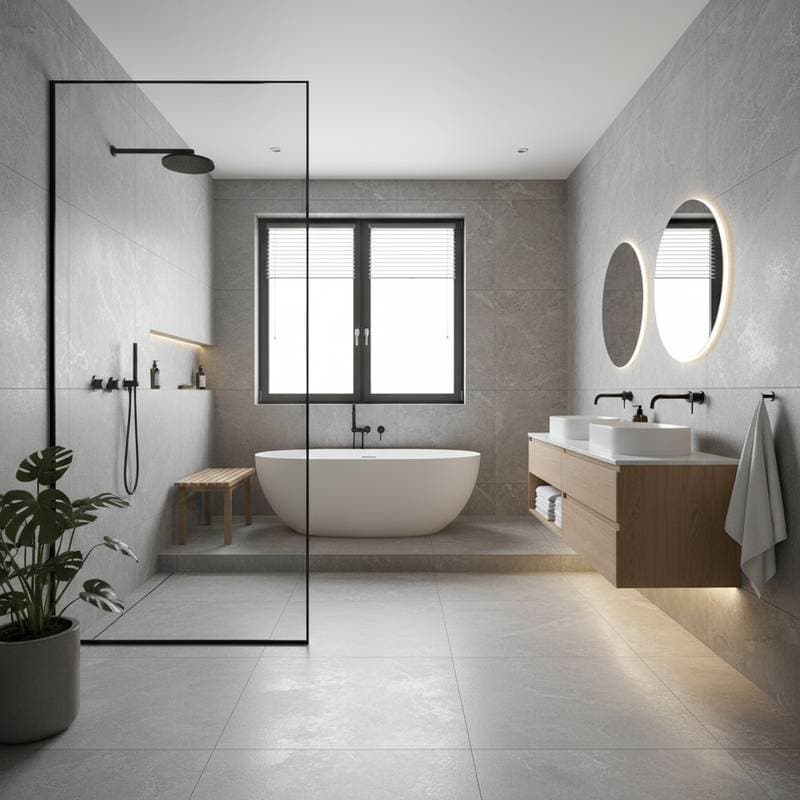
A panic room, also known as a safe room, serves as a secure chamber within a residence. Designs range from compact closet-sized units to full bedroom equivalents. The primary purpose involves providing refuge during home invasions or natural disasters. Contemporary installations integrate seamlessly, concealing behind bookshelves, mirrors, or ordinary cabinetry.
Factors Driving Increased Property Value
Homebuyers prioritize safety features that deliver reassurance. A concealed panic room demonstrates proactive preparedness and superior build quality. Construction demands robust engineering and meticulous craftsmanship, which elevate the overall perception of the property. In luxury segments, this addition conveys understated sophistication and exclusivity.
| Task | Typical Cost Range | Key Price Influences |
|---|---|---|
| Basic Hidden Panic Room Installation | $12,000 - $25,000 | Room dimensions, door specifications, air circulation systems |
| Existing Room Conversion | $8,000 - $18,000 | Existing structural integrity, entry concealment techniques |
| Custom High-End Design | $25,000 - $80,000+ | Integrated technology, premium interior finishes, impact resistance levels |
Costs fluctuate based on geographic location. Regions prone to urban crime, hurricanes, or wildfires incur premiums due to regulatory requirements and specialized materials.
Steps to Install a Hidden Panic Room
Select an Optimal Location
Identify an interior space near the home's core, such as a closet, basement area, or windowless office. Central positioning minimizes travel time during emergencies. For spaces with external windows, plan reinforcements like steel plating or opaque coverings to maintain security.
Strengthen the Enclosure
Incorporate steel or Kevlar reinforcements into walls, ceilings, and floors. Opt for solid-core doors rated for ballistic protection where feasible. Anchor the frame securely to the home's primary structure to withstand breaches or impacts.
Ensure Independent Utilities
Wire a dedicated electrical circuit or install battery backups to power lighting and ventilation. Equip with HEPA-filtered air intakes to protect against smoke or contaminants. In flood- or fire-vulnerable areas, integrate self-contained water storage and oxygen supplies.
Conceal the Access Point
Disguise the entry with custom elements like rotating bookcases, pivoting panels, or mirrored surfaces. Professional fabricators ensure the mechanism operates smoothly without visible seams. Test accessibility to confirm quick, intuitive use under stress.
Integrate Communication Systems
Install a hardwired telephone line, cellular signal amplifier, or satellite radio for reliable contact. Link internal monitors or sensors to external security networks for real-time alerts. Position devices ergonomically to facilitate operation during confinement.
Outfit the Interior Thoughtfully
Provide ergonomic seating, comprehensive medical kits, and secure storage for essentials. Stock non-perishable provisions and sanitation items for extended stays. Select finishes that align with the home's aesthetic to enhance perceived luxury.
Installation Timeline
Standard projects span one to three weeks from start to completion. Converting an existing space accelerates the process compared to ground-up constructions. Elaborate customizations, including advanced concealment or tech integrations, may extend to six weeks. Efficient planning and expedited permits reduce delays significantly.
Deciding Between DIY and Professional Installation
Pursue DIY for:
- Basic reinforcements in non-structural spaces.
- Projects leveraging personal expertise in woodworking and basic wiring.
- Simple enclosures without major modifications.
Engage Professionals for:
- Complex hidden accesses, armored components, or climate controls.
- Alterations to load-bearing elements or electrical systems.
- Installations prioritizing warranty integrity and market appeal.
Experts manage structural assessments, regulatory approvals, and seamless integration. Their involvement preserves aesthetic harmony and long-term functionality.
Essential Tools and Materials
Gather these items for the project:
- Steel or Kevlar reinforcement panels.
- Ballistic-grade door and locking hardware.
- Power tools, including drills and levels.
- Filtered ventilation assemblies.
- Communication devices such as radios or boosters.
- Camouflage elements like custom shelving or panels.
- Emergency provisions including lights and supplies.
Navigating Regional Regulations
Obtain permits for any structural or electrical alterations in most jurisdictions. Hurricane-prone areas mandate additional tie-downs for stability. Wildfire regions require non-combustible materials. Energy-efficient locales demand compliant ventilation to avoid airflow restrictions.
Essential Safety and Compliance Measures
Preserve all mandated escape routes and integrate with existing fire suppression. Equip the interior with extinguishers and medical resources. Conduct biannual inspections of locks, power sources, and air quality. Adhere to surveillance regulations by limiting recordings to private property boundaries.
Calculating the Return on Investment
A well-executed panic room elevates listing prices by 8 to 15 percent. Premium gains occur in upscale markets or high-risk locales. Value derives from enhanced security perception, rarity as a feature, and evidence of superior construction standards.
- Security Assurance: Positions the home as a fortified sanctuary.
- Market Differentiation: Sets the property apart in crowded inventories.
- Build Excellence: Reflects meticulous attention across the residence.
Beyond resale, the installation fosters daily tranquility while protecting assets and loved ones.
Strategies for Optimal Results
Position the entrance for rapid access, ideally within seconds of main living areas. Harmonize materials with surrounding decor to avoid visual disruptions. Compile documentation including blueprints, approvals, and guarantees for buyer transparency. Consult listing agents on disclosure preferences to match buyer expectations.
Planning Your Project
Schedule a professional evaluation of structural suitability first. Define technology needs and establish a realistic budget. Emphasize user comfort, robust protection, and elegant integration for maximum benefit.
Frequently Asked Questions
How much does a basic panic room cost? Expect $12,000 to $25,000, depending on size and features.
Can I install one myself? Possible for simple setups, but professionals ensure compliance and durability.
Does it require permits? Yes, for structural changes; verify local codes.
How long does installation take? Typically one to three weeks.
Will it affect home insurance? It may lower premiums; inform your provider.
Is it worth it for resale? Yes, especially in secure-conscious markets, adding up to 15 percent value.