Understanding Wet Rooms: A Modern Bathroom Evolution
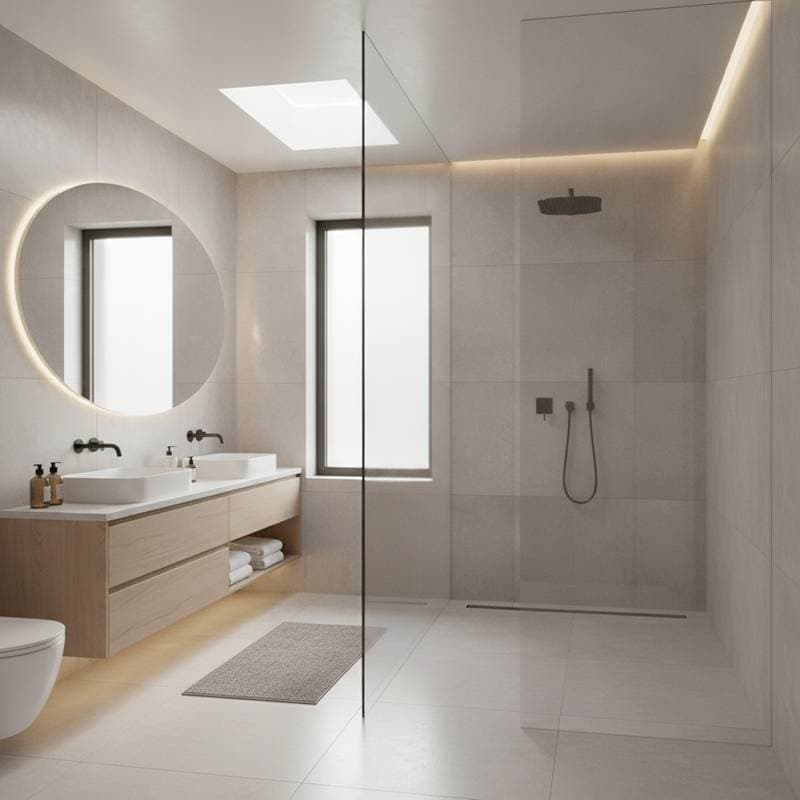
Wet rooms represent a shift in bathroom design toward seamless integration of space and functionality. Unlike traditional setups with separate shower enclosures, wet rooms feature an open, fully waterproof area where the entire floor serves as the shower base. This approach eliminates barriers, creating a fluid environment that suits contemporary lifestyles.
The concept originated in minimalist Scandinavian architecture but has gained global popularity for its practicality. In 2025, wet rooms stand out as a premium feature in residential renovations. They combine aesthetic appeal with innovative engineering to transform ordinary bathrooms into luxurious retreats.
Key Benefits of Installing a Wet Room
One primary advantage lies in enhanced accessibility. Without curbs or steps, wet rooms accommodate individuals with mobility challenges, aligning with universal design principles. This feature not only supports aging in place but also broadens the property's appeal to diverse buyers.
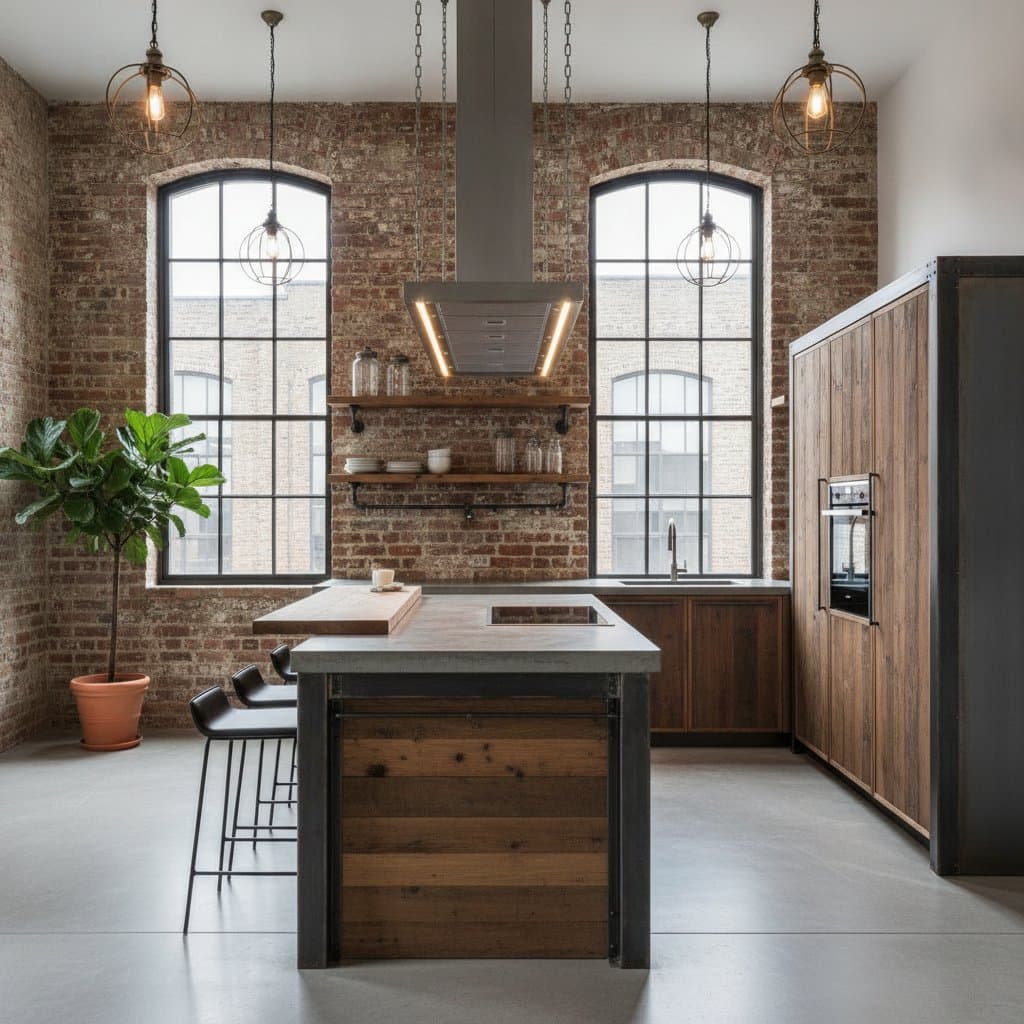
Luxury defines the wet room experience through expansive, uninterrupted sightlines and high-end materials. Imagine sleek porcelain tiles that reflect light, paired with frameless glass partitions for a spa-like atmosphere. Such elements elevate daily routines into indulgent moments.
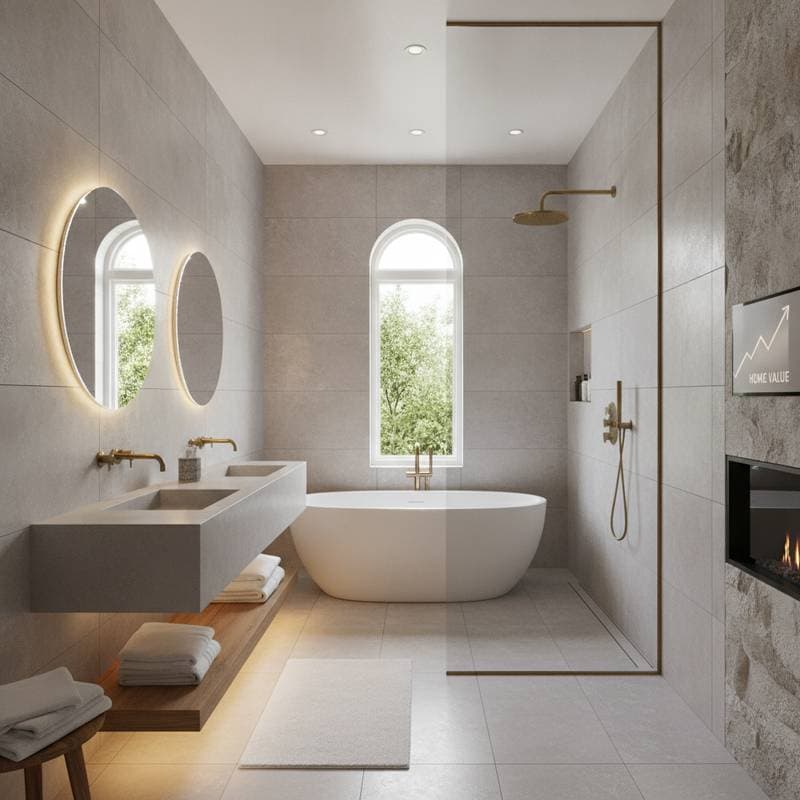
Property value sees a significant uplift from this installation. Real estate experts note that accessible, modern bathrooms can increase home worth by up to 10 percent. Buyers prioritize low-maintenance, stylish spaces that promise long-term enjoyment.
Maintenance simplifies with a wet room's design. The sloped floor directs water efficiently to drains, reducing mold risks and cleaning efforts. Durable, water-resistant surfaces withstand daily use without fading or wear.
Planning Your Wet Room Project
Start with a thorough assessment of your bathroom's layout. Measure the space to ensure at least 36 square feet for comfortable flow; smaller areas may feel cramped. Consult local building codes early, as waterproofing requirements vary by region.
Budget allocation proves essential for success. Expect costs between $15,000 and $30,000, depending on size and finishes. Factor in expenses for plumbing adjustments, tiling, and professional labor to avoid surprises.
Collaborate with a certified designer or contractor experienced in wet room conversions. They can provide 3D renderings to visualize outcomes. Prioritize firms with portfolios showcasing similar projects for reliable results.
Essential Design Elements for Luxury and Accessibility
Select flooring materials that balance safety and elegance. Large-format porcelain tiles with a subtle texture prevent slips while maintaining a smooth appearance. Avoid glossy surfaces that increase fall risks.
Incorporate smart drainage systems for efficiency. Linear drains along walls handle higher water volumes than point drains, ensuring quick drying. Position them strategically to maintain the open feel.
Lighting plays a crucial role in ambiance. Install recessed LED fixtures for even illumination and dimmable options for relaxation. Natural light from frosted windows enhances the airy quality without compromising privacy.
Choose fixtures that blend form and function. Wall-mounted vanities free up floor space, while rain showerheads deliver a therapeutic cascade. Opt for thermostatic valves to maintain consistent water temperature.
Accessibility features extend beyond the floor. Install grab bars in matte finishes that complement the decor, and consider fold-down seats for shower use. These additions ensure usability for all ages and abilities.
Step-by-Step Installation Guide
Prepare the space by removing existing fixtures and enclosures. Reinforce the subfloor to support waterproof membranes and tiling. This step prevents future leaks and structural issues.
Apply a waterproofing membrane across walls and floor up to specified heights, typically 6 to 8 feet. Use liquid-applied systems or sheet membranes for comprehensive coverage. Test for watertightness before proceeding.
Install the sloped floor assembly next. Create a gentle gradient, about 1/4 inch per foot, toward the drain using self-leveling compounds. Precision here ensures proper drainage without visible pooling.
Tile the surfaces with materials rated for wet environments. Begin from the lowest points and work upward to avoid water damage during installation. Grout with epoxy for superior durability and stain resistance.
Finalize with fixtures and accessories. Secure glass panels with sturdy hardware, and seal all joints meticulously. Allow 24 to 48 hours for curing before testing the full system.
Maintenance Tips for Longevity
Regular cleaning preserves the wet room's pristine condition. Use mild, pH-neutral cleaners on tiles and fixtures to avoid residue buildup. Wipe surfaces dry after use to minimize water spots.
Inspect seals and grout annually for cracks. Address minor issues promptly with silicone caulk or grout repair kits. Professional inspections every few years detect hidden problems early.
Monitor drainage performance monthly. Clear debris from drains to maintain flow, and consider installing hair traps for added protection. These habits extend the lifespan of your investment.
Realizing Lasting Value Through Wet Room Design
Investing in a wet room yields returns beyond immediate enjoyment. It positions your home favorably in competitive markets, attracting buyers who value innovation and inclusivity. The combination of luxury and practicality creates a timeless asset.
Homeowners report heightened satisfaction from these spaces, fostering a sense of well-being. As trends evolve, wet rooms remain a staple for forward-thinking designs. Embrace this upgrade to secure both personal delight and financial gain.