Understanding Wet Rooms and Their Value Boost
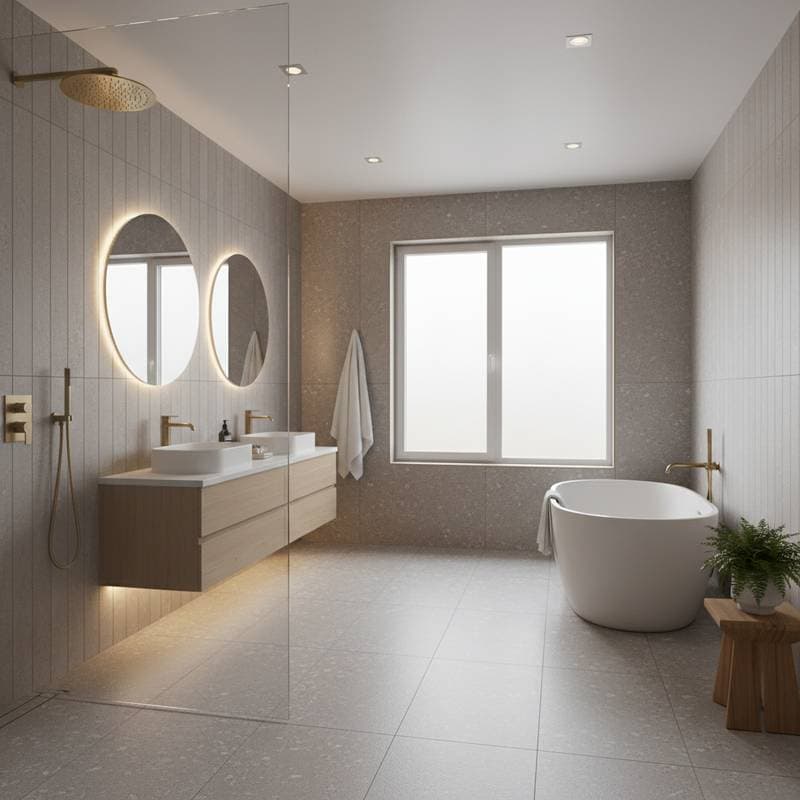
Wet rooms represent a shift toward open, barrier-free bathroom designs that integrate shower areas directly into the space without curbs or enclosures. This approach creates a spa-like atmosphere while improving functionality and accessibility. Industry projections indicate that such renovations can elevate home values by 11% by 2026, driven by demand for modern, low-maintenance features among buyers.
Homeowners benefit from increased resale appeal as wet rooms align with universal design principles, accommodating various mobility needs. The investment pays off through simplified cleaning, reduced mold risks, and a contemporary aesthetic that stands out in competitive markets. Before embarking on this project, consider how these elements align with your property's overall style and local buyer preferences.
Detailed Cost Breakdown
Budgeting accurately forms the foundation of a successful wet room installation. Costs vary based on materials, scope, and location, but understanding each component helps avoid surprises. Total expenses for a standard conversion range from $10,000 to $25,000, depending on size and finishes.
Tile and Finishes
Ceramic tiles cost between $5 and $9 per square foot, offering an affordable option with good durability. Porcelain varieties range from $9 to $15 per square foot, providing superior water resistance ideal for high-moisture environments. Natural stone selections fall between $15 and $25 per square foot, delivering a premium look but requiring more upkeep. Opt for large-format tiles to minimize grout lines, though this increases labor for precise cutting and fitting.
Plumbing Relocation
Relocating drains or supply lines adds $800 to $2,500 to the project, particularly if structural joists need notching or reinforcement. Professional assessment early on prevents escalation of these fees. In complex cases, such as shifting a drain through multiple floors, costs may exceed the upper range.
Glass and Fixtures
Frameless glass panels for enclosures cost $1,200 to $2,800 when fully installed, enhancing the open feel while containing water. Wall-mounted fixtures, including rain showerheads and handheld sprayers, contribute another $600 to $1,200. Select corrosion-resistant materials to ensure longevity in humid conditions.
Labor Charges
Experienced professionals for tiling and waterproofing charge $60 to $100 per hour. Labor typically accounts for half the overall budget, reflecting the precision required for sloping floors and sealing surfaces. Factor in coordination among trades like plumbers and electricians for efficient progress.
Permits and Inspections
Allocate $200 to $600 for permits and inspections, influenced by local codes and plumbing evaluations. These steps ensure compliance and protect against future liabilities. Delays in approval can extend timelines, so submit applications promptly.
Demolition and Preparation
Demolition and waste disposal average $300 to $700, rising if heavy materials like existing tiles or cast-iron tubs require specialized removal. Thorough prep work, including subfloor assessment, sets the stage for a solid installation.
Include a 10 to 15 percent contingency fund for unforeseen issues such as water damage or subfloor repairs. Neglecting this buffer often leads to project interruptions and inflated expenses midway through.
Ensuring Safety and Code Compliance
Prioritizing safety and adherence to building codes safeguards the installation process and the final result. Begin by verifying that your bathroom satisfies requirements for floor slope, ventilation, and electrical spacing. These measures prevent hazards and maintain structural integrity.
Essential Safety Checklist
- Equip yourself with gloves, goggles, and a respirator during tile or drywall removal to protect against dust and debris.
- Isolate water supply at the main valve prior to detaching any fixtures.
- Test for voltage with a dedicated tester before working near electrical outlets or switches.
- Confirm that outlets in proximity to water features include GFCI protection.
- Achieve a minimum floor slope of 1/4 inch per foot directing toward the drain to facilitate proper drainage.
When Permits Become Necessary
Permits apply when relocating drains, vents, or load-bearing walls; installing new electrical circuits for features like heated floors; or altering the room's footprint or framing. Engage a licensed plumber or general contractor for these modifications. An inadequate waterproofing check or incorrect slope may invalidate warranties and invite hidden leaks that compromise walls over time.
Project Timeline and Potential Delays
A standard wet room conversion spans 3 to 6 weeks, contingent on trade availability and material readiness. Breaking the process into phases allows for better planning and minimizes disruptions to daily routines.
Weekly Breakdown
- Week 1: Handle demolition and initial plumbing adjustments.
- Week 2: Prepare the subfloor, establish the slope, and allow the waterproofing membrane to cure fully.
- Weeks 3-4: Lay out, cut, and grout tiles with attention to alignment.
- Week 5: Install fixtures and add finishing trim.
- Week 6: Conduct final inspections and complete any necessary touch-ups.
Factors That May Cause Delays
Custom glass panels require 2 to 3 weeks for fabrication, potentially pushing back enclosure installation. Orders for large-format tiles often face extended lead times from suppliers. Waterproofing materials demand complete curing before tiling proceeds, adding non-negotiable wait periods.
Mitigate risks by procuring materials in advance and verifying delivery schedules. Numerous homeowners encounter setbacks of a full week due to unavailable glass or grout supplies.
Long-Term Maintenance and Durability
A properly constructed wet room endures 20 to 30 years with consistent care, emphasizing sealed surfaces and robust ventilation. Regular upkeep preserves aesthetics and functionality, preventing common deterioration.
Daily and Periodic Maintenance Tasks
- Clean walls and glass immediately after use to minimize mineral deposits.
- Employ a silicone squeegee routinely to eliminate water spots.
- Reapply sealant to grout lines or stone surfaces every 2 to 3 years.
- Clear floor drains monthly using a gentle cleaner to avoid blockages.
- Renew silicone joints every 5 to 7 years to maintain watertight seals.
Identifying and Addressing Vulnerabilities
Watch for cracked grout or unsealed corners that invite moisture intrusion. Inadequate ventilation fosters condensation and mold growth. Linear drains prone to clogging result in pooled water if not monitored.
Proactive attention to these areas prolongs the feature's service life. Overlooking maintenance invites leaks that erode framing and adjacent drywall, diminishing the initial investment.
Current Design Trends Fueling Wet Room Popularity
Contemporary buyers seek expansive, uncluttered bathrooms that enhance perceived size and ease maintenance. Wet rooms excel by eliminating partitions, fostering seamless transitions between shower and surrounding areas.
Key Trend Elements
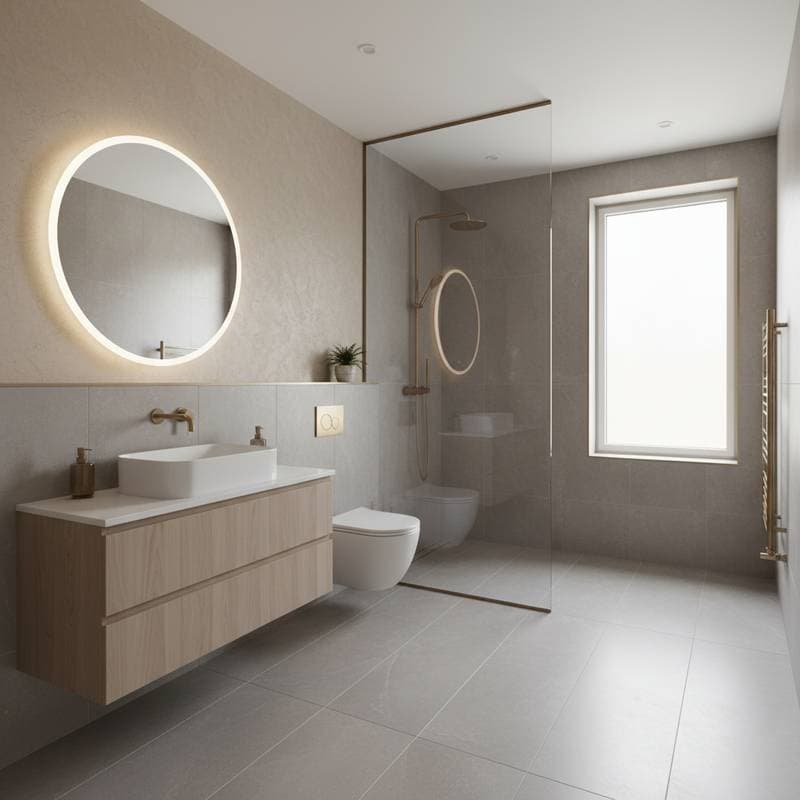
- Curbless entries define upscale installations, promoting accessibility.
- Large-format tiles streamline visuals by reducing grout exposure.
- Matte finishes ward off fingerprints and water marks effectively.
- Concealed drains supplant visible grates for a refined appearance.
- Built-in benches enhance safety across age groups and abilities.
For enduring relevance, prioritize a curbless design. This choice mitigates tripping risks and embodies inclusive principles, broadening appeal to diverse prospective purchasers.
Steps to Launch Your Wet Room Project
Transforming your bathroom requires methodical preparation to achieve optimal results. Follow this sequence to navigate decisions and execution smoothly.
- Measure the space precisely and document existing drain positions.
- Establish a comprehensive budget with a 15 percent reserve for contingencies.
- Select finishes based on priorities: ceramic for economy, porcelain for resilience, stone for elegance.
- Secure a licensed contractor for any plumbing or electrical alterations.
- Procure materials ahead of schedule to circumvent delivery holdups.
- Time the work for temperate conditions to optimize curing processes.
- Review progress at each phase to ensure alignment with expectations.
This structured approach positions your wet room as a valuable asset, blending luxury with practicality for enhanced home equity.