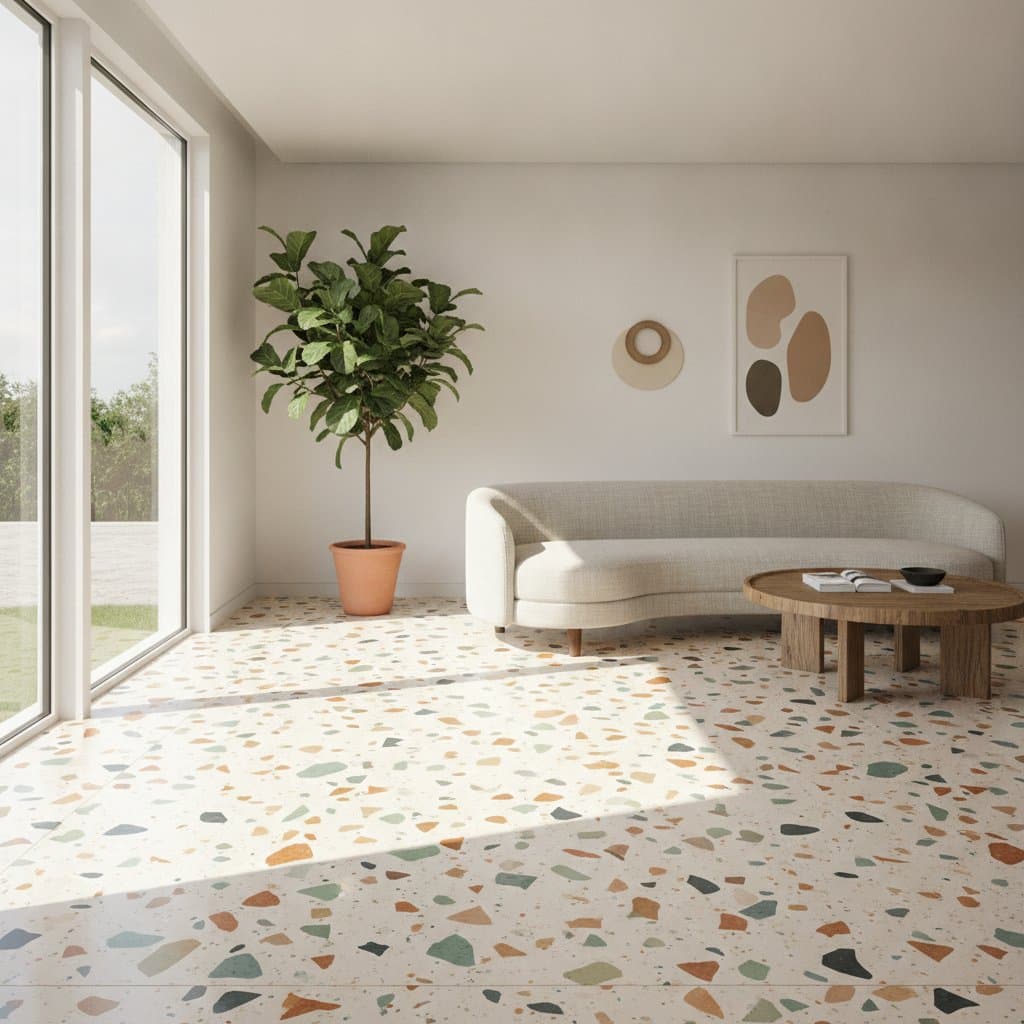
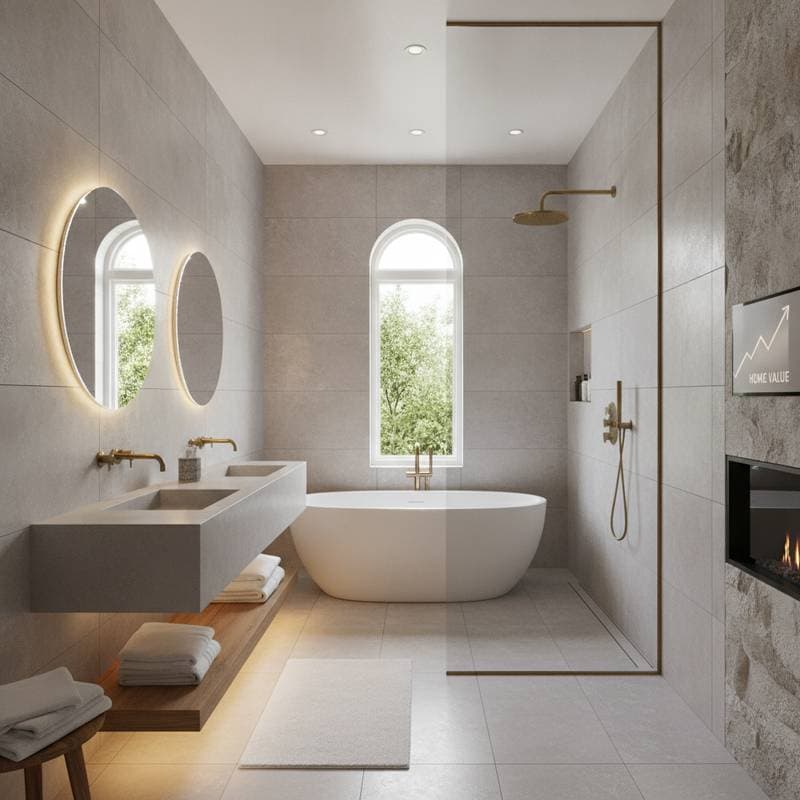
Wet Rooms: 15% ROI Boost Over Traditional Showers
Direct Answer:
Replacing a traditional shower with a wet room increases the bathroom's return on investment by approximately 15 percent. This upgrade maximizes space, enhances accessibility, and introduces a premium aesthetic that attracts potential buyers. Budget between $12,000 and $25,000 for a complete conversion, with most projects requiring one to two weeks.
Step-by-Step Guide to Installing a Wet Room
1. Assess the Space
Begin by measuring the bathroom dimensions and identifying the locations of plumbing lines. Even in compact or irregular layouts, a wet room remains feasible, though precise drainage and gradient planning become essential.
2. Inspect the Subfloor
A wet room demands a sturdy subfloor foundation. Concrete slabs provide the best support. For homes with wooden joists, contractors often reinforce the structure or incorporate a preformed shower tray to achieve the necessary incline.
3. Apply Comprehensive Waterproofing
Implement a tanking system using waterproof membranes, liquid-applied sealants, and watertight tapes at all corners and seams. This treatment ensures that floors, walls, and transitions fully repel moisture penetration.
4. Position the Drain System
Opt for linear drains to achieve a streamlined appearance and efficient water evacuation. Central drains serve as an alternative when gradients align properly. A qualified plumber verifies placement accuracy and integrates the system with existing plumbing.
5. Lay Tiles on Floors and Walls
Select non-slip porcelain or ceramic tiles for safety and durability. Employ narrow grout joints to minimize water ingress. For a cohesive design, apply the same tile material throughout the room to create a seamless surface.
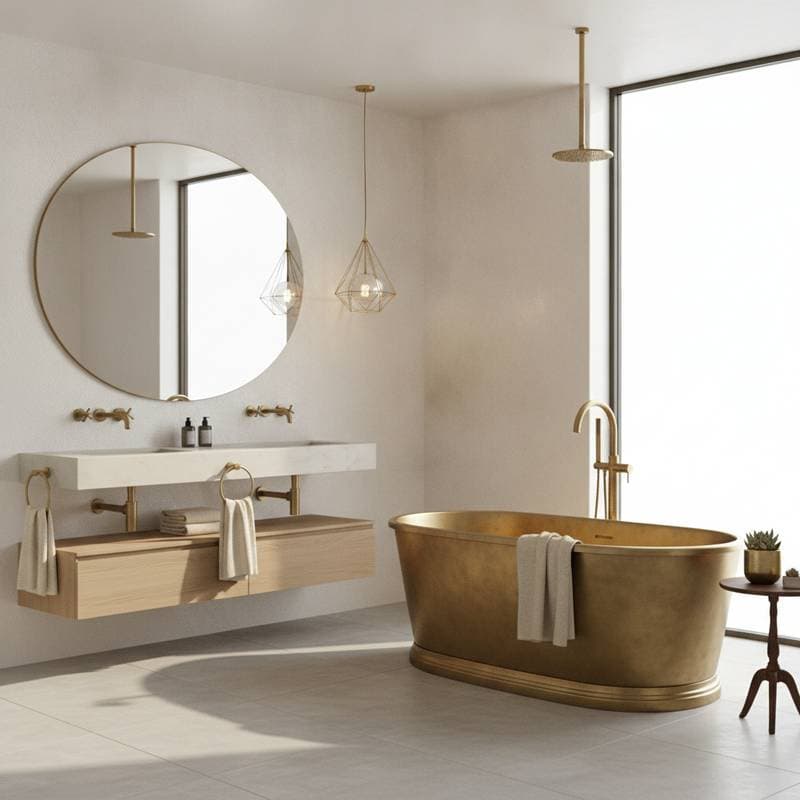
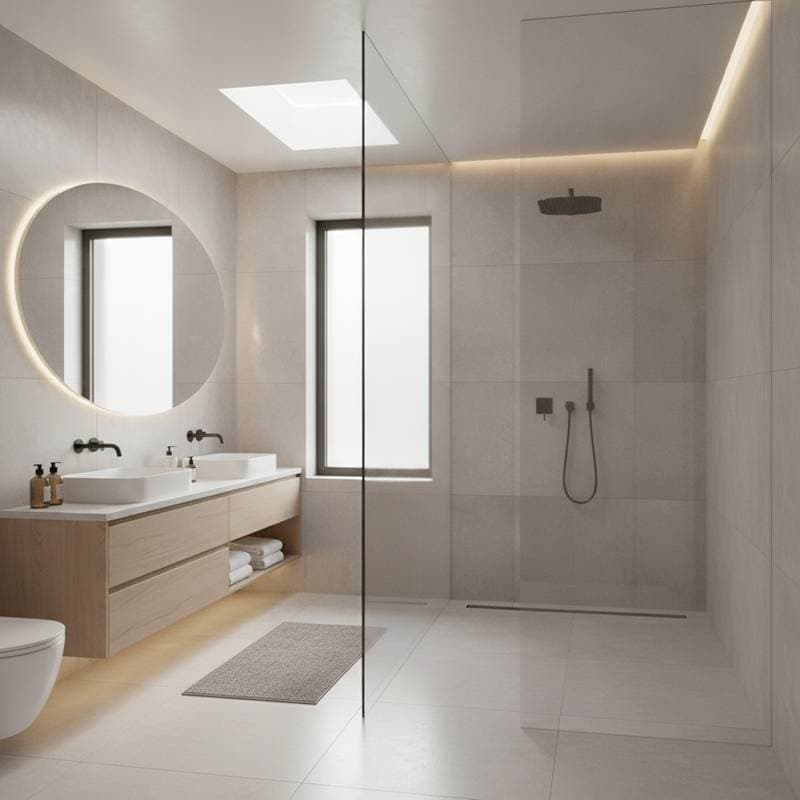
6. Install Glass Enclosures
While wet rooms function without barriers, a single glass panel effectively directs water flow. Frameless options preserve a minimalist profile and allow natural light to permeate the area.
7. Conduct Testing and Final Sealing
Prior to regular use, flood the floor with water to verify drainage efficiency and detect any leaks. Address and reseal any vulnerabilities as required. Permit all adhesives and sealants to cure completely before introducing daily operations.
Project Timeline
- On-site labor: Seven to ten days for demolition, waterproofing applications, and tile installation.
- Overall schedule: Ten to fourteen days, accounting for curing periods and required inspections.
Factors such as tub removal or joist modifications can extend the timeline by several days. Efficient planning minimizes disruptions.
DIY Considerations Versus Professional Installation
Pursue DIY when:
- Experience in tiling and rudimentary plumbing exists.
- The subfloor consists of concrete with straightforward plumbing configurations.
- Proficiency in applying waterproofing materials is assured.
Engage professionals when:
- Drain relocation or joist alterations prove necessary.
- A wooden subfloor or complex gradients are involved.
- Warranty coverage or imminent property sale demands assurance.
Professional advantages:
Licensed experts guarantee optimal gradients, thorough waterproofing, and adherence to building codes. Many wet room issues stem from inadequate drainage; professionals mitigate these risks and secure permits for plumbing modifications.
Understanding the 15% ROI Advantage
The 15 percent return on investment for wet rooms derives from key attributes:
- Inclusive Design: Prospective buyers appreciate barrier-free access that accommodates diverse mobility needs, broadening market appeal.
- Premium Appeal: The expansive layout, full-height tiling, and streamlined elements evoke spa-like elegance, elevating the property's perceived worth.
- Longevity: Meticulously sealed wet rooms outlast conventional showers with their caulked enclosures, reducing ongoing maintenance and associated expenses.
For outdated bathrooms, this shower replacement surpasses other renovations in enhancing resale attractiveness.
Wet Rooms Versus Traditional Showers: A Comparison
| Feature | Wet Room | Traditional Shower |
|---|---|---|
| Entry | No barriers | Elevated sill or base |
| Aesthetic | Spacious and contemporary | Contained and utilitarian |
| Maintenance | Simplified with minimal seams | Increased due to grout and edges |
| Spatial Impact | Expands perceived room size | Limited by defined boundaries |
| Initial Expense | Elevated | More economical |
| Investment Return | 15% uplift | Standard or limited improvement |
Although wet rooms demand greater upfront investment and preparation, they deliver substantial rewards in comfort and market value.
Pitfalls to Sidestep in Wet Room Projects
- Neglecting Gradient Verification: Minor deviations lead to water accumulation; always confirm inclines during installation.
- Selecting Inappropriate Grout: Conventional types permit moisture absorption; prioritize epoxy or specialized waterproof variants.
- Insufficient Waterproofing Coverage: Overlook no surface, including areas behind tiles or beneath fixtures.
- Inadequate Air Circulation: Poor ventilation fosters mold growth despite sealing; integrate exhaust systems.
- Bypassing Regulatory Approvals: New drains or electrical additions require permits to maintain insurance validity.
Expert Recommendations for Optimal Results
- Incorporate Lighting Strategically: Install recessed LED fixtures in shower zones using vapor-tight enclosures for safety.
- Favor Matte Tile Finishes: These conceal water marks more effectively than high-gloss alternatives.
- Add a Subtle Threshold at Exits: A quarter-inch rise prevents spillover into adjacent areas.
- Employ Oversized Tiles: Fewer joints yield a smoother, more luxurious surface.
- Integrate Built-in Storage: Recessed niches organize essentials without visual clutter.
Sustainability and Efficiency Gains
Smartly designed wet rooms outperform standard showers in environmental impact. Incorporate low-flow showerheads and thermostatic mixing valves to optimize water and energy use. Choose tiles from recycled sources to reduce material demands. Underfloor heating systems on low-voltage setups consume less power than traditional radiators.
The absence of plastic bases and framed panels further diminishes waste during future updates.
Resolving Frequent Wet Room Challenges
Issue: Water Accumulation Around Drains
- Solution: Evaluate the floor pitch. Apply self-leveling compound to adjust low spots as needed.
Issue: Odors Following Use
- Solution: Enhance exhaust capabilities and examine grout integrity. Renew compromised sealants promptly.
Frequently Asked Questions
How much does a wet room conversion cost? Expect $12,000 to $25,000, varying by size, materials, and structural needs.
Is a wet room suitable for small bathrooms? Yes, with careful planning for drainage and space utilization.
What maintenance does a wet room require? Regular sealing checks and ventilation ensure longevity with minimal effort.
Does a wet room increase home value? Absolutely, the 15% ROI reflects enhanced appeal and functionality.
Can I install a wet room over existing flooring? Rarely; subfloor preparation is typically required for proper waterproofing.