Understanding Wet Rooms and Their Value Proposition
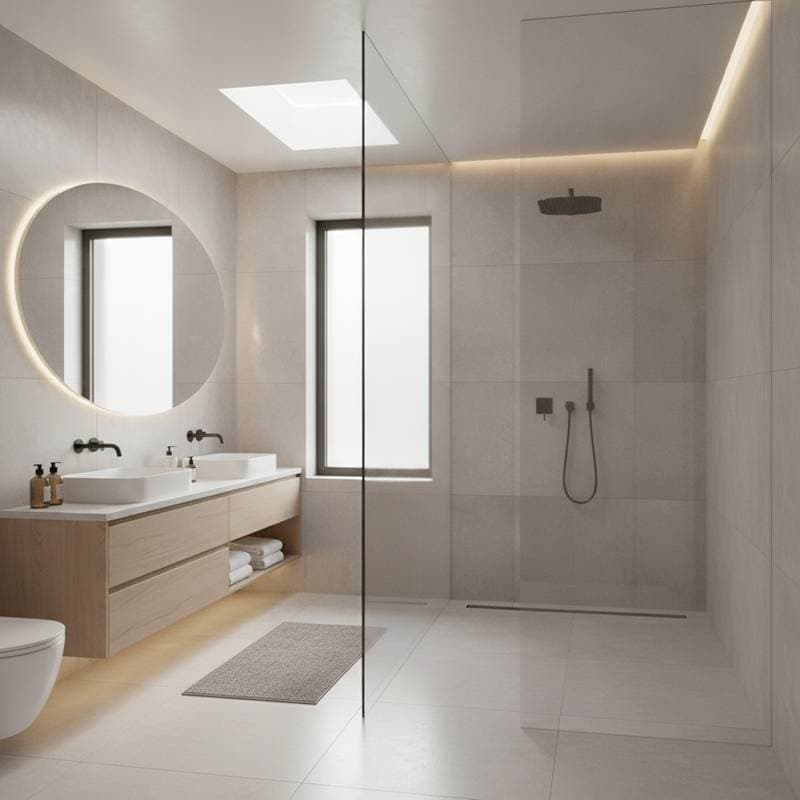
Wet rooms represent a shift from traditional bathrooms with separate tubs and showers to fully integrated, waterproof spaces designed for open and efficient use. This design eliminates barriers, creating a fluid environment that aligns with modern aesthetics and practical needs. Homeowners often see a return of up to 11 percent on their investment through enhanced resale value, alongside immediate improvements in daily usability.
The appeal lies in the room's versatility. It suits various lifestyles, from families seeking low-maintenance spaces to individuals prioritizing aging-in-place features. Professional installation ensures the space meets building codes and withstands moisture over time, maximizing both comfort and financial benefits.
Breaking Down Installation Costs
Budgeting for a wet room requires careful consideration of multiple elements that influence the total expense. Costs typically fall between $8,000 and $18,000 for a standard bathroom conversion, depending on size, materials, and site-specific challenges. Understanding these factors helps homeowners plan effectively and avoid surprises.
Materials Selection
Materials form the foundation of a durable wet room, with waterproofing and finishes accounting for a significant portion of expenses. High-quality choices ensure longevity and visual appeal.
- Tiles: Prices vary from $3 to $25 per square foot, influenced by material type such as porcelain, natural stone, or glass mosaics. Larger formats reduce grout lines for easier cleaning, while intricate patterns add design interest.
- Waterproof Membranes and Sealants: These essential components cost $500 to $1,200 for an average bathroom. Liquid-applied systems provide seamless coverage, while sheet membranes offer reliable protection against water intrusion.
- Drainage Systems: Linear drains, ideal for sleek designs, range from $300 to $900. Center drains are more affordable at $100 to $300 but may require additional floor adjustments for proper flow.
Selecting materials that balance cost and performance is key. For instance, opting for mid-range porcelain tiles can achieve a premium look without exceeding budget limits.
Labor Expenses
Labor constitutes a major part of the project, typically amounting to $4,000 to $9,000 based on the job's complexity. Skilled workers handle critical tasks like creating precise slopes for water drainage and applying waterproof layers.
Precision is non-negotiable; even minor errors in slope calculation can result in pooling water or leaks. Experienced teams use laser levels and testing protocols to verify functionality before finalizing the installation.
Plumbing Modifications and Accessibility
In older homes, plumbing adjustments often add $800 to $2,000 to the total. This may involve rerouting pipes or installing new drainage lines to accommodate the open layout.
Assessing the existing setup early prevents costly disruptions. For example, reinforcing subfloors ensures stability, particularly in multi-story buildings where weight distribution matters.
Permits, Inspections, and Regulatory Compliance
Local regulations require permits costing $200 to $600, managed by the contractor in most cases. Inspections verify waterproofing integrity and drainage efficacy, safeguarding against future liabilities.
Compliance with standards like those from the International Plumbing Code ensures the project passes scrutiny. Homeowners benefit from this step, as it upholds property value and safety.
Demolition, Disposal, and Optional Enhancements
Removing outdated fixtures such as tubs and old tiles incurs $300 to $700 in disposal fees. Add-ons like radiant heated floors or integrated benches enhance luxury, adding $1,000 to $2,500.
These extras improve user experience; heated floors provide warmth in colder climates, while benches support accessibility for all ages.
Evaluating DIY Options Against Professional Services
Deciding between self-installation and hiring experts depends on skill level and project scope. While DIY appeals to handy individuals, wet rooms demand specialized knowledge to avoid pitfalls.
Scenarios for DIY Success
DIY works best under specific conditions where risks remain low.
- Individuals possess advanced skills in tiling, plumbing, and waterproofing from prior projects.
- Necessary tools, including wet saws, levels, and sealing kits, are already available.
- The conversion targets a small space, like a powder room, minimizing structural changes.
Even then, thorough research into local codes is essential. Testing waterproofing with flood simulations can catch issues early.
Benefits of Professional Installation
Professionals are recommended for most conversions, especially those involving structural modifications.
- Rerouting plumbing or adjusting drains requires licensed expertise to meet safety standards.
- Floor reinforcement for proper sloping demands engineering insight to prevent settling.
- Warranties on materials and workmanship provide peace of mind against defects.
Hiring a certified contractor guarantees adherence to best practices, such as multi-layer membrane application and certified drain integration. This approach reduces long-term maintenance costs significantly.
Project Timeline and Cost-Saving Strategies
Wet room projects span 2 to 4 weeks, accounting for curing periods of waterproof materials and lead times for custom elements. Delays often stem from tile sourcing or glass fabrication, so proactive ordering is crucial.
Efficient planning keeps timelines on track. For example, coordinating demolition with material deliveries streamlines the process.
Practical Ways to Reduce Expenses
Smart choices can trim costs without compromising quality.
- Purchase tiles in bulk during sales periods to secure discounts on larger quantities.
- Retain compatible existing fixtures, such as vanities or lighting, to integrate seamlessly.
- Arrange for custom glass panels well in advance, as production typically requires 10 to 14 days.
- Time the project for off-peak seasons when labor rates may dip due to lower demand.
- Allocate a 10 to 15 percent contingency for unforeseen issues, common in homes over 20 years old.
These strategies not only save money but also foster a smoother execution.
Steps to Execute Your Wet Room Upgrade
Transforming a bathroom into a wet room involves methodical preparation to ensure success. This upgrade enhances functionality, from easier mobility to simplified upkeep, while aligning with current design preferences.
Follow these structured steps:
- Obtain quotes from at least three licensed contractors experienced in wet room systems to compare approaches and pricing.
- Evaluate the floor's load-bearing capacity and slope potential prior to any demolition work.
- Select and order tiles promptly to sidestep supply chain interruptions.
- Upgrade ventilation, such as installing exhaust fans, to manage increased humidity levels.
- Verify all permit requirements with local authorities before commencing alterations.
Prioritize the waterproof membrane as the cornerstone of the project. Proper installation averts leaks and mold, preserving the investment for years.
Realizing Lasting Benefits from Your Investment
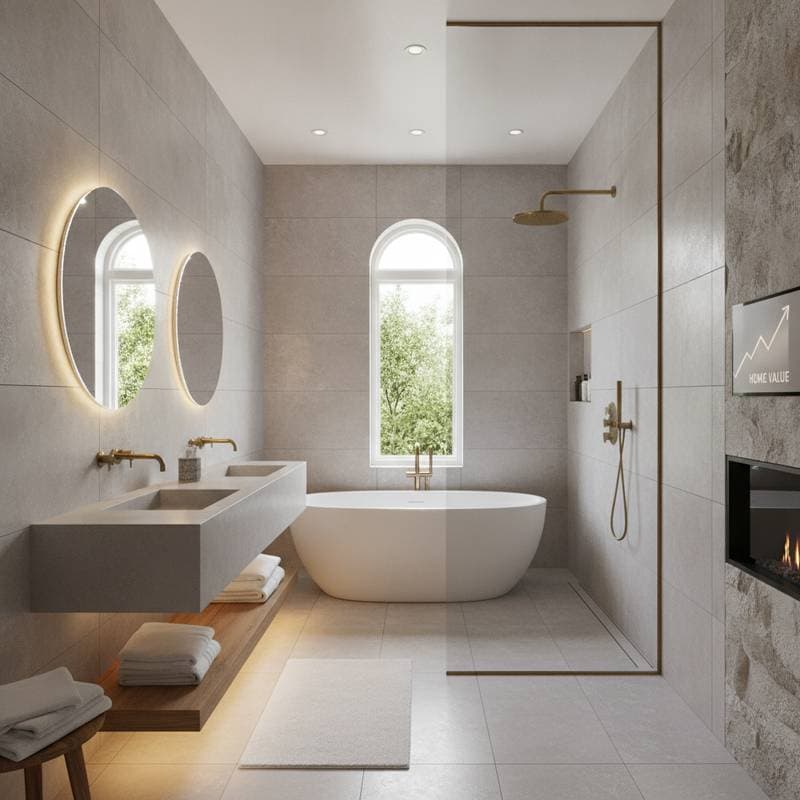
A completed wet room delivers an uncluttered, inviting space that adapts to diverse needs, whether in urban apartments or spacious master suites. It supports universal design principles, facilitating safe use across life stages.
The 11 percent value increase reflects broader market trends favoring accessible, low-maintenance features. Daily enjoyment comes from the room's intuitive flow and resilience, turning routine routines into effortless experiences. With diligent planning, this enhancement yields returns in satisfaction and equity alike.