5. Built-In Recycling Centers
Install a pull-out bin system within cabinets to conceal trash and recycling containers. This setup prevents odors from spreading and maintains a tidy appearance.
Why it matters: Modern buyers view this as a standard feature. It promotes better hygiene and streamlines waste management.
Cost: $250 to $600, varying by cabinet style and bin capacity.
Time: Two to four hours.
DIY vs Pro: Use a pre-made kit for straightforward installation. Professionals ensure custom fronts align perfectly with existing doors.
6. Under-Cabinet Drawers
Mount shallow drawers beneath upper cabinets to store spices, utensils, or paper towels. These additions utilize overlooked space effectively.
Why it matters: They preserve counter space and allow quick access to daily essentials.
Cost: $100 to $300 per drawer.
Time: One afternoon.
DIY vs Pro: Secure with screw-on brackets for a DIY project. Custom options benefit from a cabinet specialist.
7. Slide-Out Corner Systems
Address wasted corner space with blind-corner pull-outs or rotating lazy Susans. These mechanisms make stored items accessible without strain.
Why it matters: They eliminate hard-to-reach areas, such as forgotten pot lids. Prospective buyers appreciate the enhanced organization.
Cost: $300 to $900, based on mechanism durability.
Time: Half to one full day.
DIY vs Pro: Handle basic mechanical setups independently. Opt for professionals with intricate configurations.
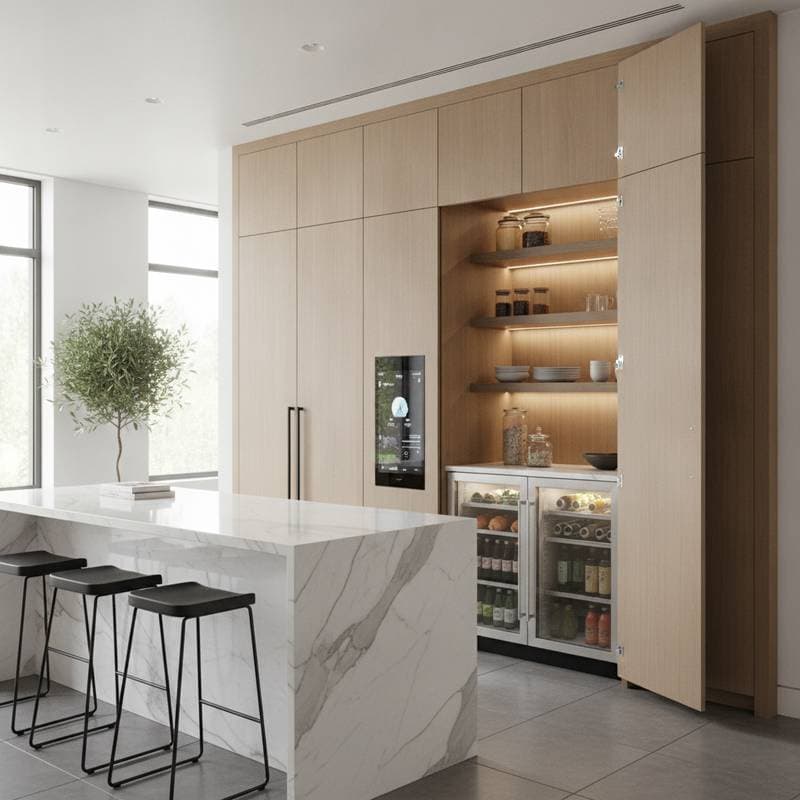
8. Concealed Beverage Centers
Integrate a mini fridge or wine cooler behind a cabinet panel for a streamlined look. This keeps the primary refrigerator free of extra items.
Why it matters: It introduces luxury and practicality, ideal for open-concept layouts.
Cost: $1,000 to $2,500 including the appliance. Custom panels range from $300 to $700.
Time: One to two days.
DIY vs Pro: Install appliances yourself if no plumbing modifications are required. Achieve a seamless built-in finish with a cabinet expert.
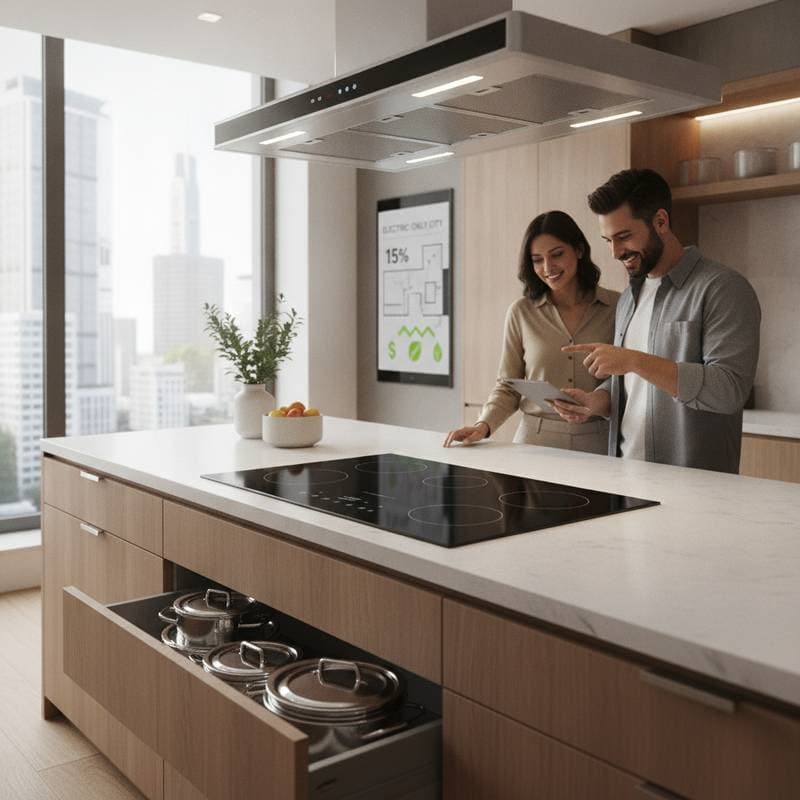
9. Retractable Power Towers
Embed pop-up units in countertops that extend for use and retract to remain hidden. They suit islands and peninsulas lacking sufficient outlets.
Why it matters: These provide flexible power access in constrained areas.
Cost: $200 to $600 per unit.
Time: One day, including electrical integration.
DIY vs Pro: Engage a licensed electrician to ensure safety and compliance.
10. Integrated Knife Blocks and Utensil Slots
Embed blocks and slots into drawers or beneath cabinets for secure storage of blades and tools. This keeps them accessible yet concealed.
Why it matters: It enhances safety in households with children and avoids countertop clutter.
Cost: $50 to $300, depending on materials and dimensions.
Time: A few hours.
DIY vs Pro: Perform the installation independently for simple designs.
Costs and Expected Returns
These concealed upgrades avoid extensive renovations, yielding favorable returns. The following table outlines average expenses and value appreciation.
| Upgrade | Typical Cost | ROI Estimate | Notes |
|---|---|---|---|
| Appliance Garage | $500 - $2,000 | 60% - 80% | Enhances visual cleanliness |
| Pull-Out Pantry | $400 - $1,200 | 70% - 90% | Optimizes storage capacity |
| Hidden Recycling | $250 - $600 | 75% - 100% | Meets contemporary expectations |
| Toe-Kick Drawers | $150 - $400 | 60% - 85% | Repurposes unused areas |
| Pop-Up Power Tower | $200 - $600 | 65% - 80% | Introduces contemporary utility |
Costs fluctuate with location, materials, and labor. Tailored cabinetry and precise matching increase expenses but ensure a cohesive design.
Project Timelines and Levels of Complexity
Complete most upgrades in under three days. Schedule multiple tasks within a single week for a comprehensive update without structural changes. Appliance garages and beverage centers demand more time due to electrical or plumbing needs. Drawer adaptations and pull-out mechanisms finish quickest.
Guidelines for Professional Assistance
Seek expert help under these conditions:
- Electrical or plumbing work is involved.
- Matching existing cabinet finishes is necessary.
- A flawless execution supports an imminent sale.
Modular kits, minor drawer additions, and accessory placements suit DIY efforts. Review warranty conditions prior to modifying cabinets or premium surfaces.
Essential Tools and Materials
- Drill with appropriate bits
- Measuring tape and level
- Screwdriver set
- Cabinet slides or lift hinges
- Electrical outlet kits (professional use only)
- Trim pieces and matching paint
- Safety glasses and gloves
Considerations for Regional and Climate Variations
Humidity impacts drawer functionality and cabinet integrity. Select stainless or zinc-coated hardware in humid coastal or tropical areas. In arid regions, opt for composite materials to counteract wood expansion. Local regulations often mandate GFCI outlets near water sources or within enclosed spaces. Verify requirements with municipal authorities before electrical alterations.
Strategies for Optimal Results
- Define functional zones based on appliance usage and access frequency.
- Measure meticulously to guarantee accurate placements.
- Align finishes seamlessly to avoid visible discrepancies.
- Incorporate LED lighting within storage areas for enhanced usability.
- Ensure adequate ventilation around concealed appliances.
Incorporate soft-close mechanisms and hidden handles to elevate the overall sophistication.
Implementation Plan
Select an initial upgrade aligned with your budget and schedule. Begin with an appliance garage or pull-out pantry for noticeable improvements. Later, integrate concealed outlets or toe-kick drawers to achieve unified organization. For resale purposes, highlight streamlined storage and updated conveniences in property descriptions. Buyers value the serene, orderly aesthetic and reward it accordingly.
Concealed kitchen elements represent understated excellence in contemporary interiors. They facilitate effortless routines, elevate property worth, and create a personalized environment. The most rewarding choices operate invisibly yet prove indispensable daily.