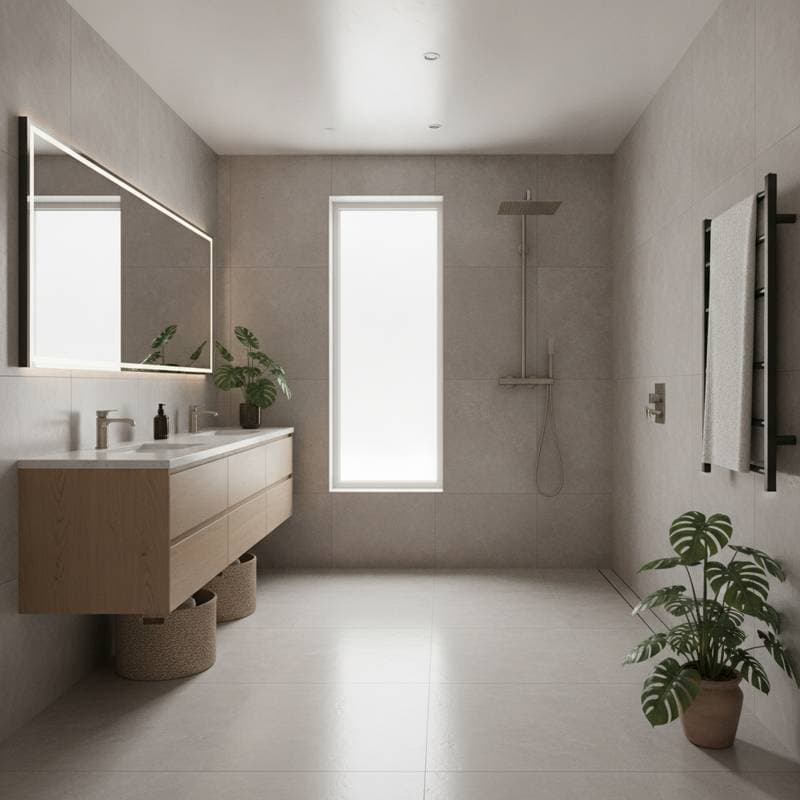
Wet Rooms Deliver Strong Returns in Modern Homes
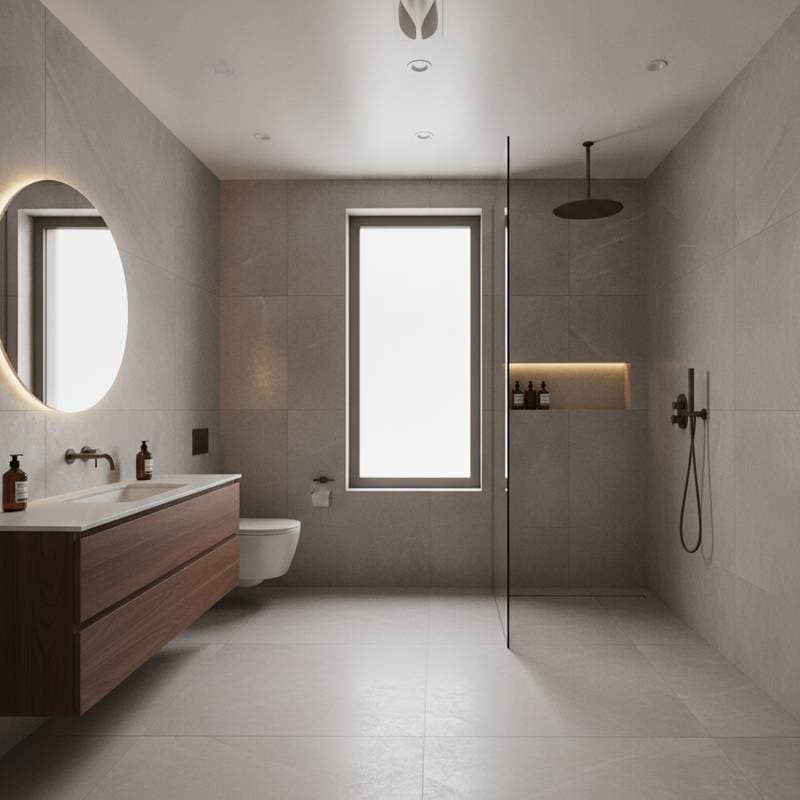
Wet rooms replace traditional tubs with open, waterproofed shower spaces. They offer easier maintenance, better accessibility, and up to 15 percent return on investment when executed correctly. Homebuyers appreciate the spa like feel and clean lines that help properties sell faster.
Core Elements of a Wet Room
A wet room features a fully waterproofed floor and walls with a gentle slope directing water to a central drain. No enclosure doors or curtains are required, though a partial glass panel can reduce splashing. The design creates an open layout that maximizes space and simplifies cleaning.
Conversion Process
- Plan drain placement, shower head position, and any screen location while confirming proper floor slope.
- Remove the existing tub, tiles, and drywall to expose the studs and inspect for prior water damage.
- Apply a tanking membrane or liquid waterproof coating across floors and walls.
- Install the drain system and verify slope with a water test before tiling begins.
- Lay non slip porcelain or ceramic tiles and seal all grout joints thoroughly.
- Complete the project with the shower system, lighting, and optional glass panel.
Dust and noise are common during the work. Keep children and pets away from the construction zone.
Cost Ranges
| Task | Typical cost | Price factors |
|---|---|---|
| Demo and prep | $800 to $1,500 | Room size and existing condition |
| Waterproofing | $1,000 to $2,000 | Labor rates and slope complexity |
| Tile and drain install | $2,000 to $5,000 | Tile selection and layout |
| Fixtures and finishes | $1,000 to $3,000 | Brand quality and screen type |
| Total | $4,800 to $11,500 | Regional rates and contractor skill |
Coastal markets and areas with strict codes often see higher totals. Large format tiles can reduce grout labor costs.
Project Timeline
Most conversions require five to ten working days. Waterproofing and tile curing account for up to three of those days. Drain relocation or inspection requirements may extend the schedule.
Decision Factors for DIY or Professional Help
DIY if:
- You possess tiling experience, plumbing knowledge, and waterproofing tools.
- You can manage heavy materials and precise slope calculations.
Hire a pro if:
- Warranty protection is desired.
- Plumbing must be rerouted or structural elements checked.
- Waterproofing systems are unfamiliar.
Licensed contractors ensure correct drainage and avoid leaks that damage subfloors. Errors made during a DIY project frequently require expensive corrections later.
Recommended Tools and Materials
- Wet saw for tile cutting
- Trowels and spacers
- Waterproof membrane or mat
- Linear drain kit
- Non slip tile
- Grout sealer
- Level and measuring tape
Select moisture resistant lighting and ensure adequate ventilation. A dehumidifier supports proper curing.
Climate and Code Considerations
Cold regions benefit from underfloor heating to keep tiles comfortable. Warm climates allow faster drying with good airflow. Flood prone zones require raised drains and sealed outlets. Local permits are often needed for drain relocation, so verify requirements before starting.
Situations Requiring Professional Involvement
Contact a contractor when floor joists need reinforcement, main plumbing lines must be moved, or mold is present. Built in benches or recessed lighting near water also warrant expert installation.
Execution Recommendations
- Lay out tiles before any cuts are made.
- Confirm water flow before grout sealing.
- Maintain slight slopes toward the drain on all surfaces.
- Apply sealant to corners and joints twice.
- Provide strong ventilation throughout the process.
A properly constructed wet room increases property value while delivering daily comfort and contemporary style.