EV Garage Upgrades: Achieving 92 Percent Return on Investment for Home Value
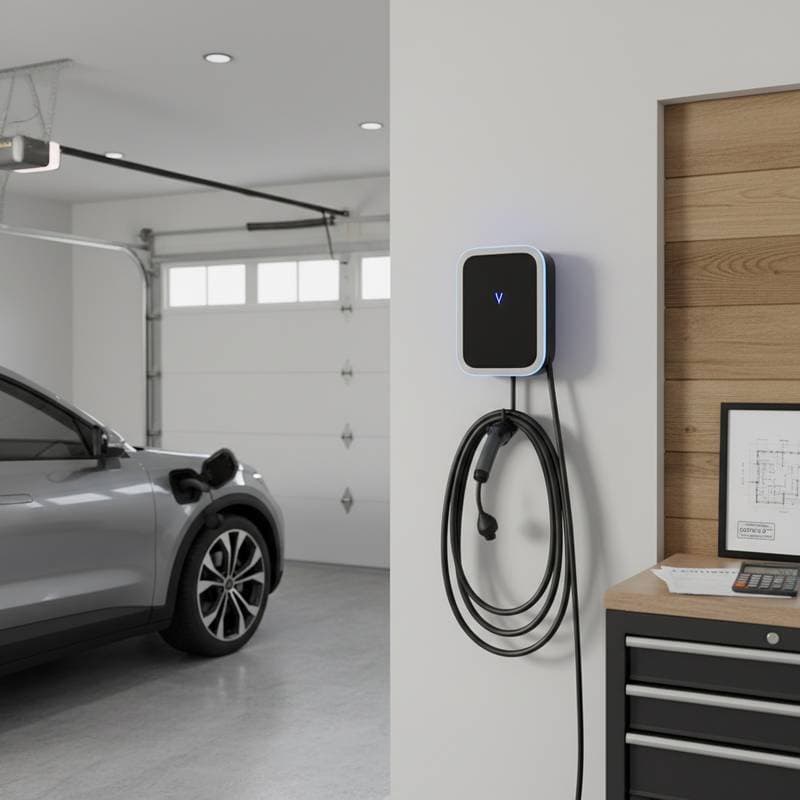
Key Insight: Installation of a Level 2 EV charger, complete with appropriate wiring upgrades, delivers up to 92 percent return on investment and positions the garage for compatibility with electric vehicles.
Factors Influencing Installation Costs
Costs for installing an EV charger vary based on equipment, electrical requirements, and site conditions. Homeowners typically encounter expenses between $1,100 and $3,800 for a standard Level 2 setup. Understanding these elements allows for accurate budgeting and informed decisions.
Charger Selection
-
Level 1 Charger (120-Volt Outlet): This option accompanies most electric vehicles and provides approximately 4 miles of driving range per hour of charging. It requires no significant electrical modifications if a grounded outlet exists.
Estimated Cost: $0 to $300, assuming an existing suitable outlet. -
Level 2 Charger (240-Volt System): This charger supports 20 to 30 miles of range per hour, making it suitable for overnight charging routines.
Estimated Cost: $500 to $1,200 for the unit itself. -
Smart Level 2 Charger with Wi-Fi Connectivity: These models include features such as scheduling, load management, and usage monitoring through mobile applications.
Estimated Cost: $900 to $1,600.
Electrical Modifications
-
Dedicated 240-Volt Circuit: Installation costs range from $250 to $700, influenced by the distance of the wiring run and the type of conduit used.
-
Electrical Panel Upgrade or Subpanel Addition: Necessary when existing capacity proves insufficient, with costs from $800 to $2,500.
-
Permits and Inspections: Fees amount to $100 to $300, varying by local regulations.
Labor Requirements
-
Services of a Licensed Electrician: Hourly rates fall between $85 and $150.
-
Standard Installation Duration: Expect 4 to 8 hours of labor.
-
Additional Time for Complex Tasks: Wiring through walls or trenching may extend the project by 1 to 2 days, adding $400 to $900 to the total.
Site Access and Positioning
-
Wall-Mounted Near the Main Panel: This placement minimizes expenses and accelerates the process.
-
Detached Garage or Extended Conduit Runs: These scenarios increase costs by $300 to $700.
-
Outdoor Charging Stations: Weatherproof enclosures add $100 to $400.
Additional Expenses
-
Removal and Patching of Old Outlets: $50 to $150.
-
Surge Protection Devices: $100 to $250.
-
Cable Organization Solutions, Such as Reels or Wall Mounts: $40 to $120.
Allocate an additional 10 to 15 percent of the budget for unforeseen issues in older properties, such as inadequate panel capacity, ungrounded wiring, or damaged conduits hidden behind walls.
DIY Installation Versus Professional Services
Homeowners must evaluate their skills and local codes when considering installation approaches. While certain tasks suit independent efforts, others demand expert intervention to ensure safety and compliance.
Suitable DIY Tasks
- Mounting the charger bracket and organizing cord storage.
- Installing surface-mounted conduit, provided local codes permit.
- Configuring Wi-Fi connections and applications post-installation.
Required Skill Level: Intermediate proficiency with hand tools and basic electrical preparation.
Essential Tools: Drill, stud finder, conduit bender, voltage tester, screwdriver set, and cable clips.
Tasks Requiring Professional Expertise
- Installation of new 240-volt circuits or electrical panel modifications.
- Routing wiring underground or through exterior walls.
- Managing permits and conducting inspections.
- Performing load calculations, especially for multiple chargers or integration with solar systems.
Rationale: Improper electrical work risks voiding equipment warranties and creates potential fire hazards. Compliance with electrical codes mandates involvement of a licensed electrician for circuit connections.
Indicators Necessitating Professional Help:
- Frequent tripping of breakers during operation of high-power appliances.
- Presence of aluminum wiring in homes built before 1980.
- Lack of available breaker slots in the panel.
- Plans for outdoor installations without proper weatherproof conduit.
Ongoing Maintenance and Warranty Considerations
Regular upkeep extends the lifespan of EV charging equipment and maintains its performance. Addressing common failure points proactively prevents costly repairs.
Essential Maintenance Practices
- Inspect the charging cord monthly for cracks or fraying; replace as needed.
- Protect the unit from moisture and dust; clean with a damp cloth, avoiding direct water exposure.
- Verify ground fault circuit interrupter (GFCI) functionality every three months using the test button.
- Check and tighten mounting screws annually to counteract vibration.
Common Issues and Prevention
- Connectors degrade from frequent use; inspect regularly.
- Cables may crack in low temperatures if stored improperly.
- Wi-Fi components require periodic firmware updates for reliable operation.
- Breaker trips often indicate undersized circuits or loose connections.
Prioritize the addition of surge protection, which safeguards against damage from electrical surges or lightning strikes.
Warranty Details
- Charger Equipment: Coverage typically spans 3 to 5 years.
- Electrical Labor: Most licensed professionals offer a 1-year guarantee.
- Extended Coverage Options: Additional $100 to $300, particularly beneficial for smart chargers with software dependencies.
Retain all documentation, as prospective buyers and inspectors frequently request evidence of permitted electrical installations during resale.
Safety Equipment and Regulatory Compliance
Adhering to safety protocols during installation minimizes risks. Compliance with local codes ensures the setup meets professional standards.
Recommended Safety Equipment:
- Insulated gloves rated for at least 600 volts.
- Protective eyewear.
- Non-conductive ladder.
- Voltage tester or multimeter.
- Extension cords specifically rated for EV charging applications.
Pre-Installation Precautions:
- Disconnect power at the main breaker.
- Label all circuits for clarity.
- Confirm proper grounding of outlets.
- Maintain distance from water sources and flammable substances.
Triggers for Permits and Code Adherence:
- Installation of any new 240-volt circuit.
- Addition of load-sharing systems or subpanels.
- Exterior conduit runs or trenching.
- Integration of smart chargers with home automation networks.
Inspectors generally review breaker sizing, wire gauge, and GFCI protection prior to approval.
Implementing the Installation
A structured approach streamlines the process and maximizes benefits. Follow these steps to achieve a seamless upgrade.
Detailed Action Plan
- Evaluate Electrical Capacity: Inspect the panel for available slots and overall amperage rating.
- Select the Appropriate Charger: Opt for a Level 2 model to balance charging speed with return on investment.
- Obtain Quotes from Three Electricians: Inquire about permit management and assistance with rebate applications.
- Purchase the Charger in Advance: Account for potential shipping delays on in-demand units.
- Arrange the Installation Date: Choose a period of stable weather to minimize disruptions.
- Activate Warranties Promptly: Complete registration within one week of completion.
- Monitor Energy Usage: Review the subsequent utility bill to confirm efficiency gains.
Potential Project Delays
- Outdated or corroded electrical panels.
- Absence of a grounding electrode system.
- Detached garages lacking feasible conduit routes.
- Incomplete permit applications.
Enhancements for Added Value
- Apply fresh paint and sealant to garage walls prior to mounting.
- Install motion-activated LED lighting near the charging station.
- Label breakers and outlets for ease of future access.
- Store a physical copy of the charger manual adjacent to the unit.
Preparing for Long-Term Benefits
Begin by examining your electrical panel and investigating local rebates. A consultation with a licensed electrician clarifies whether your home supports a 240-volt circuit without major changes.
For those anticipating a home sale or further upgrades, focus on a Level 2 charger equipped with smart load management. This investment provides everyday utility, elevates property value, and ensures readiness for electric vehicle adoption. Approach the project methodically: confirm capacity, obtain necessary permits, and select a secure installation method to realize these advantages.