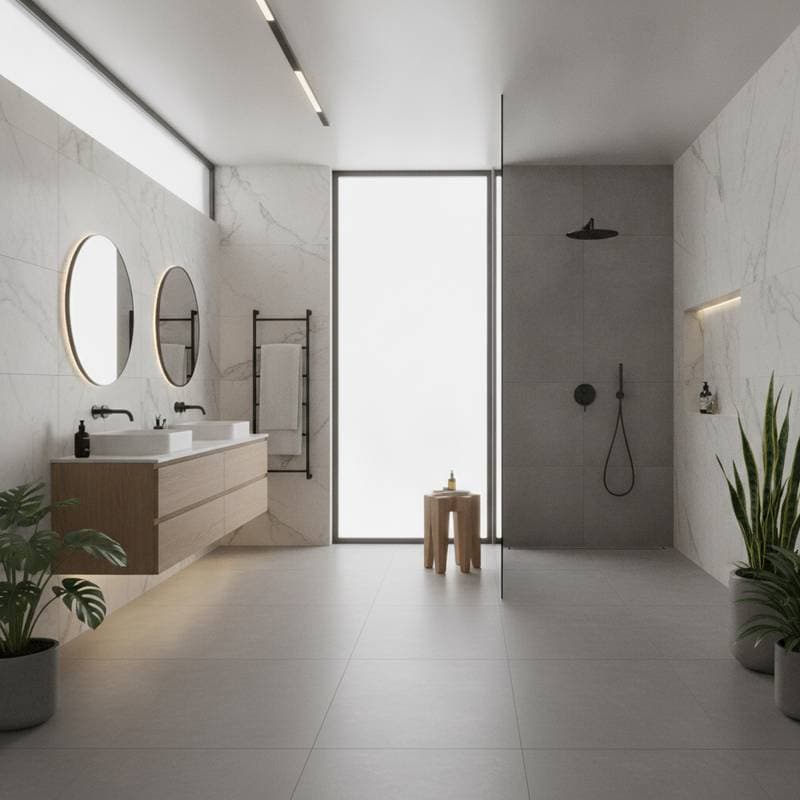
Understanding Wet Rooms and Their Impact on Home Value in 2026
Key Insight: Installing a fully waterproofed wet room can increase resale value by approximately 11 percent, with costs beginning at $12,000 for smaller bathrooms.
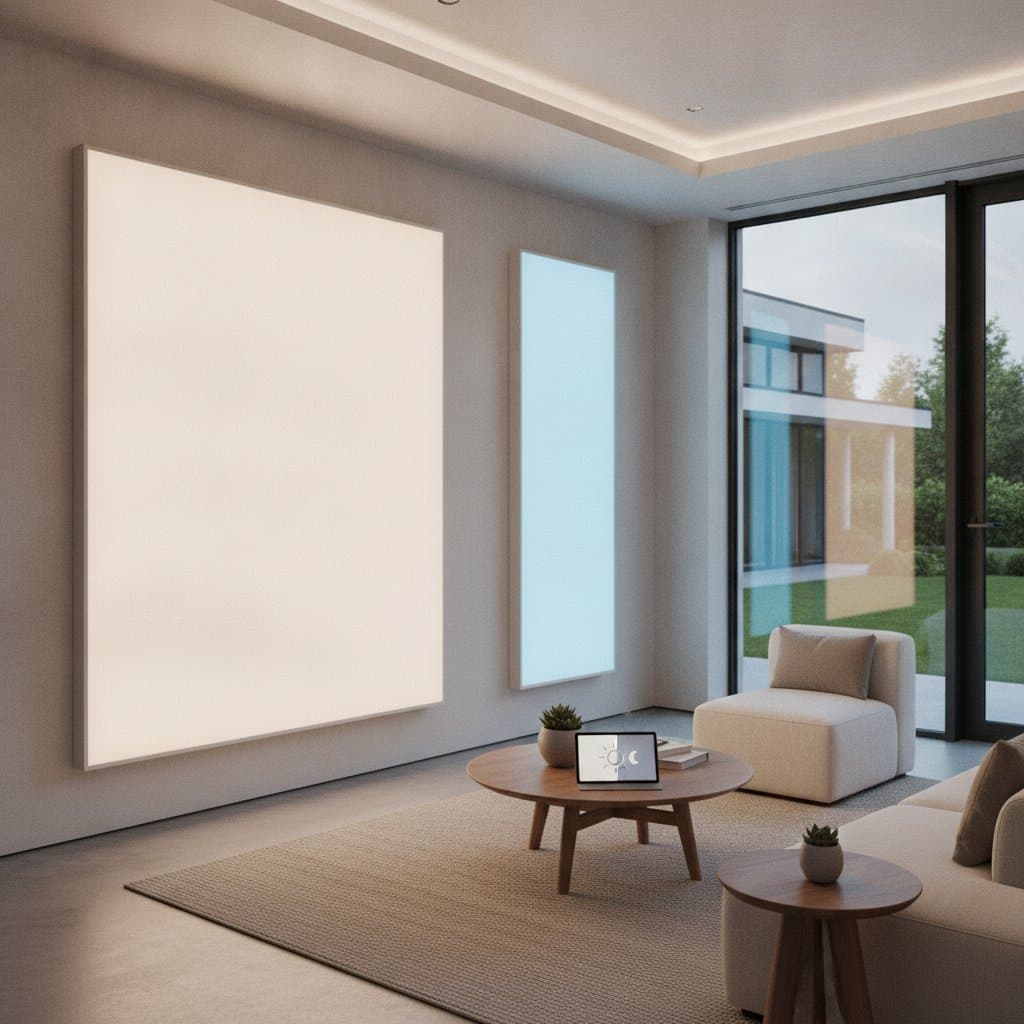
Homebuyers increasingly prioritize bathrooms that offer seamless accessibility, expansive layouts, and effortless maintenance. Wet rooms meet these demands by eliminating traditional shower enclosures, creating a level floor throughout, and enclosing the entire space in a watertight system. This approach delivers enhanced mobility, a sense of openness, and contemporary style.
Real estate professionals note that bathroom renovations sway purchasing choices more than updates in most other areas. A meticulously crafted wet room not only captures attention in photographs but also demonstrates high-quality craftsmanship and forward-thinking design.
Breaking Down the Costs
Costs vary based on several elements, from space dimensions to material selections. Understanding these factors helps in budgeting effectively.
1. Space Dimensions and Configuration
Larger areas require more extensive waterproofing, which elevates both labor and supplies. For a modest 5-by-8-foot bathroom, expect around $12,000. In contrast, a 10-by-10-foot room featuring upscale finishes might total $28,000 or higher.
2. Waterproofing Essentials
The foundation of any wet room lies in comprehensive tanking membranes and liquid-applied sealants. Quality systems range from $6 to $10 per square foot. Neglecting this critical step risks severe water intrusion that damages underlying structures.
3. Flooring and Wall Finishes
Ceramic options fall between $3 and $6 per square foot. Porcelain tiles cost $5 to $10, while natural stone surpasses $15. The floor's gradient and grout patterns influence installation time and precision.
4. Drainage Solutions and Plumbing Adjustments
Sleek linear drains enhance aesthetics but carry a premium. A durable stainless steel unit, including plumbing work, costs $400 to $900. Relocating drains through concrete slabs adds $800 to $2,000 in expenses.
5. Installation Labor and Regulatory Approvals
Skilled professionals charge $80 to $120 per hour for tiling and waterproofing tasks. Permits for modifications to structure or plumbing typically range from $100 to $400, varying by location.
6. Additional Expenses and Reserves
Budget an extra 10 to 15 percent to cover discoveries like concealed water damage, subfloor fixes, or unforeseen reconfiguration needs.
Deciding Between DIY and Professional Installation
Suitable DIY Tasks
Homeowners can manage preliminary steps such as surface preparation, demolition, and painting. Tasks like removing outdated tiles, disposing of debris, and applying primers suit those with basic skills. Proceed only if conditions remain dry and clean, and use protective equipment including gloves, respirators, and safety eyewear.
Reasons to Engage Experts
Specialized work like applying waterproof membranes, setting drains, and installing sloped tiles requires professional expertise. Consult a licensed contractor when:
- Re-leveling the floor or reinforcing the structure becomes necessary.
- Incorporating underfloor heating is desired.
- Relocating plumbing or adding vents is involved.
- Securing a warranty for the waterproofing system is important.
Opting out of professional assistance may invalidate guarantees and lead to costly water issues down the line.
Installation Timeline and Cost-Saving Strategies
Anticipate 2 to 4 weeks for completion, accounting for drying periods and required inspections. Membranes demand sufficient curing, while tile adhesives and grout need at least 24 hours to set before exposure to water.
Material Lead Times: Custom glass screens and unique drains could require 2 to 3 weeks for delivery. Place orders promptly to avoid project delays.
Optimal Scheduling
Arrange tiling during warmer, drier seasons to accelerate curing processes. Humid or cold weather can extend drying durations significantly.
Potential Rebates
Energy-saving features, such as low-flow plumbing fixtures or radiant heating elements, might qualify for rebates from local utilities or municipal programs. Verify eligibility through your service provider or building authority.
Practical Ways to Reduce Expenses
- Maintain existing plumbing routes to avoid $1,000 to $2,000 in relocation fees.
- Opt for large-format tiles to minimize grout lines and labor efforts.
- Choose a single frameless glass panel over complete enclosures.
- Purchase supplies during promotional periods when suppliers clear inventory.
Choosing Between Repairs and Full Replacement
For showers exhibiting leaks or mold growth behind tiles, simple fixes might suffice initially. However, if moisture has penetrated the subfloor, a complete overhaul proves more reliable.
Repair Expenses: Addressing minor seals or drain problems costs $400 to $1,200.
Replacement Investment: Converting to a wet room begins at $12,000, yet it builds lasting equity and mitigates ongoing moisture threats.
Signs like warped walls, spongy floors, or lingering smells indicate the need for replacement to avert broader structural harm and higher future costs.
Advantages in Design and Accessibility
Wet rooms remove barriers, facilitating movement for individuals with limited mobility. The uniform floor level accommodates wheelchairs and walkers without obstruction. Flexible configurations adapt well to both compact and spacious environments.
Aesthetic Enhancements: Uniform tiling across surfaces expands the perceived size. A clear glass partition or open layout maintains unobstructed views.
Maintenance Simplicity: Reduced seams and components lessen cleaning demands. Absence of bases or rods prevents dirt accumulation.
Effective Water Management: Adequate ventilation paired with a consistent floor slope channels water efficiently to the drain, avoiding pools that foster mold growth.
Pitfalls to Sidestep
- Overlooking Floor Gradients: Level surfaces lead to water accumulation. Confirm a 1/4-inch drop per foot toward the drain.
- Selecting Inappropriate Grout: Traditional varieties absorb moisture. Choose epoxy or modified polymer alternatives.
- Inadequate Airflow: Install a fan designed for high-humidity environments.
- Neglecting Joint Seals: Apply flexible sealants at edges and transitions, avoiding stiff grout.
- Disregarding Set Times: Hastening membrane or tile applications results in premature breakdowns.
Adhere to product guidelines for each component. Prioritize expert waterproofing to safeguard against recurring issues and sustain property worth.
Steps to Proceed with Your Wet Room Project
- Examine your existing bathroom for signs of leaks, mold, or unstable tiles.
- Establish a budget aligned with your room's dimensions and desired finishes.
- Obtain estimates from qualified professionals and inquire about waterproofing assurances.
- Schedule work during favorable weather to streamline the process.
- Select materials in advance to secure current rates amid market fluctuations.
Transforming your space into a wet room delivers aesthetic elevation, practical usability, and strong appeal to prospective buyers, securing both immediate enjoyment and future financial benefits.