Wet Rooms: The 2026 Bathroom Evolution Boosting Resale Value by 11 Percent
Key Insight: A complete wet room renovation typically costs $18,000 and increases property resale value by up to 11 percent, while revitalizing compact bathroom areas.
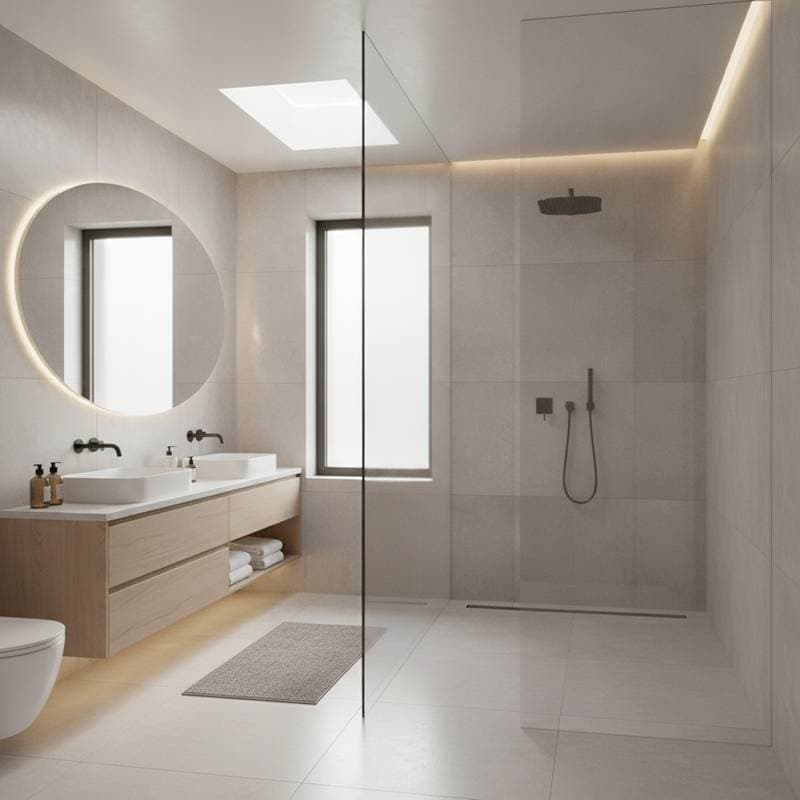
The Rise of Wet Rooms in Modern Homes
Homeowners increasingly favor wet rooms over conventional bathtubs, embracing curbless showers and expansive, barrier-free layouts. These configurations maximize usable floor space and introduce a sophisticated, resort-inspired ambiance. According to real estate analyses, properties featuring updated wet rooms attract quicker offers and command approximately 11 percent higher resale prices, particularly those incorporating water-saving fixtures and low-entry thresholds.
Wet rooms extend beyond visual appeal by facilitating easier upkeep. The fully waterproof design minimizes grout seams and sealant edges, reducing the effort required for routine cleaning. For households planning to age in place, the absence of curbs removes potential stumbling risks and aligns with universal accessibility principles, ensuring long-term usability for all residents.
Evaluating DIY Options Against Professional Installation
Suitable Tasks for DIY Enthusiasts
Certain preparatory elements lend themselves to independent execution:
- Demolishing existing structures and clearing debris
- Applying fresh paint or mounting a new vanity
- Preparing tile surfaces or applying grout in non-critical areas
These steps allow cost savings while building familiarity with the project.
Essential Professional Interventions
Engage certified specialists for complex elements:
- Relocating drains or applying waterproof barriers
- Establishing precise slopes and securing tiles in moisture-exposed zones
- Handling electrical modifications or integrating underfloor heating systems
- Reinforcing walls to support safety grab bars or built-in seating
Critical Caution: Improper gradient formation or inadequate sealing may invalidate manufacturer guarantees and cause severe water damage to underlying structures. Conduct a thorough flood test on waterproofing layers prior to tile installation to verify integrity.
Detailed Installation Roadmap
-
Evaluate the Existing Area
Begin by measuring the current floor pitch and drain positioning. Inspect wall frameworks for signs of water intrusion or deterioration. Verify sufficient overhead clearance to accommodate the added height from sloping adjustments. -
Design the Configuration
Determine whether to pursue a fully open shower enclosure or incorporate partial glass partitioning for splash control. Retain existing plumbing lines for fixtures where feasible to minimize relocation expenses. -
Source Appropriate Materials
Select slip-resistant flooring tiles, moisture-resistant backing boards, and comprehensive membrane waterproofing kits. Procure shower components and hardware in advance to circumvent common supply chain interruptions. -
Condition the Base Layer
Strip away outdated flooring materials and examine subfloor joists for stability. Position a prefabricated sloped base or form the incline using a mortar bed for optimal drainage. -
Implement Waterproofing Measures
Coat surfaces with liquid-applied membranes or install sheet-based systems extending from the floor upward through the shower region. Securely seal every junction, angle, and fixture penetration to prevent moisture escape. -
Position Drainage and Lay Tiles
Install the central drain assembly initially, then proceed with tiling that radiates away from it. Sustain a uniform downward gradient of at least one-quarter inch per foot toward the drain to promote efficient water runoff. -
Incorporate Enclosures and Plumbing
Mount safety-tempered glass panels for containment. Link hidden thermostatic valves and overhead rainfall showerheads for a streamlined appearance. -
Conduct Testing and Final Touches
Perform extended water flow simulations to detect any leaks before applying edge sealants. Seal grout lines with protective coatings and integrate high-capacity exhaust fans to manage humidity.
Ongoing Care and Warranty Protection
Regular attention to the waterproofing and surface elements preserves the installation's durability. Follow this schedule:
- Weekly Routine: Clean walls and surfaces to eliminate soap residue and prevent buildup.
- Monthly Inspection: Examine grout edges and drain guards for debris accumulation or wear.
- Annual Review: Scrutinize sealant applications and operational status of exhaust systems.
Professionally applied waterproofing solutions typically include warranties spanning 10 to 15 years. Document all installation specifications and maintenance activities for reference during property transactions or warranty activations. Address any indications of grout discoloration or tile base softening promptly, as procrastination may result in subsurface decay.
Ensuring Safety and Regulatory Adherence
Prior to any disassembly, isolate water supply and electrical circuits serving the bathroom. Scan for concealed wiring or gas conduits within wall cavities using appropriate detection tools. Equip yourself with:
- Slip-resistant footwear for secure footing
- Protective eyewear to shield against debris
- Durable gloves suited for handling sharp-edged materials
- A dust mask when sawing cement-based boards
Obtain necessary permits for any plumbing alterations or electrical upgrades. Local regulations may require auxiliary overflow drains or specified minimum curb elevations in upper-level installations. Consult your municipal building authority early to confirm compliance requirements.
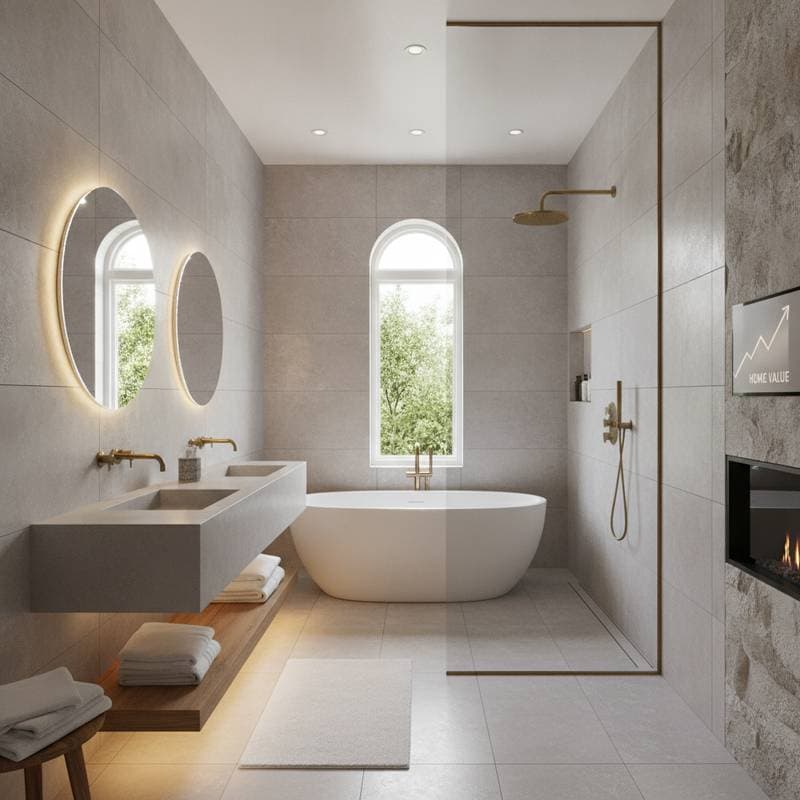
Sustained Benefits in Value and Efficiency
A meticulously constructed wet room curbs water consumption by as much as 15 percent via targeted spray patterns and low-flow components. This design also advances aging-in-place objectives, broadening appeal to diverse buyer demographics. Integrating hydronic underfloor warming and automated air circulation systems enhances daily comfort without escalating utility demands.
The 11 percent uplift in resale value stems from the blend of opulent styling and practical accessibility features. In dynamic housing markets, such enhancements often accelerate closing timelines and yield more favorable valuation assessments, solidifying the investment's appeal.
Launching Your Wet Room Transformation
Establish a comprehensive budget that accounts for materials, permitting fees, and a 15 percent buffer for unforeseen expenses. Seek out contractors holding valid licenses and specialized waterproofing credentials, requesting evidence of prior flood testing protocols. Anticipate potential delays in sourcing tiles and glass during high-demand periods by placing orders well in advance.
Prioritize enhancements to exhaust capabilities, as effective moisture removal safeguards the entire setup. Insist on a rigorous leak assessment post-installation, regardless of project scale. This renovation merges aesthetic elevation with functional reliability, expanding perceived space in modest bathrooms and alleviating maintenance burdens for years ahead. Thoughtful preparation, precise execution, and expert collaboration position this upgrade to simultaneously enhance living quality and property worth.