Colorful Terrazzo Floors Add 11 Percent to Home Value
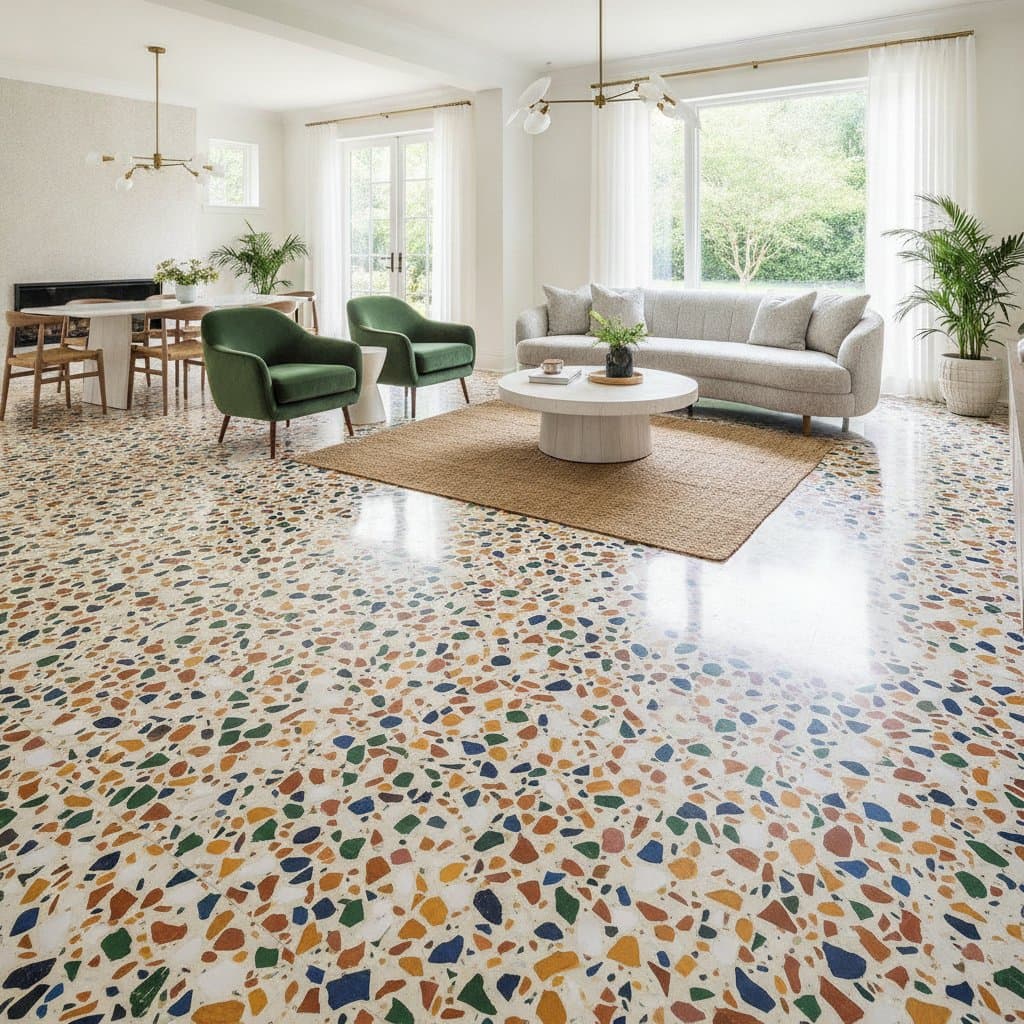
Colorful terrazzo floors raise home value by about 11 percent. Buyers respond to the distinctive appearance, proven durability, and immediate visual impact. Few flooring choices combine strong design presence with minimal ongoing care.
This guide covers the value contribution of terrazzo, project costs, installation planning, and professional versus do-it-yourself options. It also addresses current design directions, regional considerations, and answers to frequent questions.
Planning a Terrazzo Floor Project
Select the installation area
Focus on high-visibility spaces. Entryways, kitchens, and living rooms deliver the strongest effect. Bathrooms succeed when the mix includes slip-resistant additives.
Choose the binder
Cement terrazzo fits large surfaces and classic aesthetics. Epoxy terrazzo produces brighter colors and thinner profiles suited to contemporary interiors.
Select chips and palette
Combine glass for reflective sparkle with marble for traditional warmth. Sample combinations under actual lighting conditions before final selection.
Determine divider strips
Metal strips define color fields and geometric patterns. They also create clean borders between rooms.
Prepare the subfloor
A level, clean, and stable base is essential. Concrete works best. Wood subfloors require a vapor barrier plus a cement board overlay.
Decide on installation approach
Epoxy systems demand specialized skills. Cement terrazzo allows partial homeowner involvement followed by professional polishing.
Project Timeline
An average residential terrazzo installation requires seven to ten working days.
| Stage | Duration | Details |
|---|---|---|
| Surface preparation | 1 to 2 days | Removal of existing flooring and leveling |
| Pouring and curing | 2 to 3 days | Binder setting time |
| Grinding and polishing | 2 to 4 days | Multiple passes for final smoothness |
| Sealing and final cleaning | 1 day | Application of protective finish |
Humidity and temperature affect curing, so allow schedule flexibility.
DIY or Professional Installation
Consider DIY only for small areas such as a bathroom or patio when prior experience with concrete or epoxy exists and proper equipment is available. Professional installation is required for custom patterns, structural repairs, or commercial-grade finishes. Professionals control moisture, chip distribution, and polishing uniformity while providing warranties that often mandate their involvement.
Current Design Directions
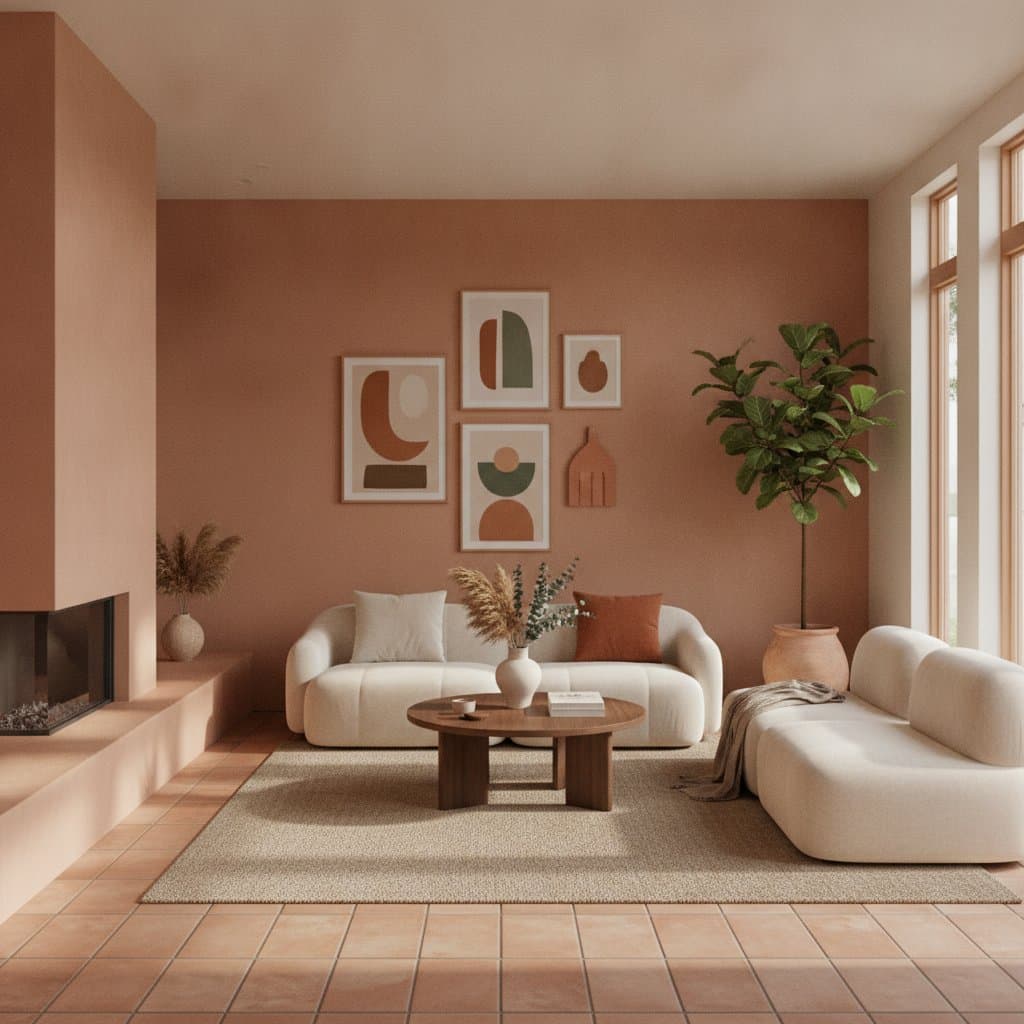
Bold color combinations now dominate. Sky blue, coral, and deep green chips replace traditional gray and beige. Some homeowners coordinate floor colors with artwork or countertops.
Popular themes include an aqua base with white and orange glass, a pale pink base with black and gold accents, warm gray with mirror chips, and sand beige with red and brown stone. Pattern options range from chevron borders to circular inlays and gradual color shifts between rooms. Moderate palettes that complement wood and white walls preserve broader buyer appeal.
Installation Errors to Prevent
- Inadequate subfloor preparation allows imperfections to show through the finished surface.
- Incorrect binder selection leads to failure under sunlight exposure.
- Unchecked moisture in concrete causes bubbling or cracking.
- Polishing before full cure produces surface pitting.
- Excessive chip loading weakens the binder and reduces pattern clarity.
Correcting these issues after installation costs substantially more than proper execution from the start.
Maintenance Practices
Sweep or vacuum weekly. Clean with a damp mop and neutral pH solution. Address spills immediately to prevent staining from citrus, vinegar, or wine. Schedule light polishing every few years and deeper restoration after ten years as needed.
Value Drivers
Appraisers identify two primary factors. The reflective, seamless surface conveys custom quality associated with high-end architecture. Long service life signals reduced future replacement costs, lowering perceived ownership risk. Homes featuring terrazzo in prominent areas typically list for roughly 11 percent more than comparable properties with standard tile or laminate.
Practical Recommendations
Order ten percent extra material to accommodate cuts and pattern alignment. Blend chips from several bags to maintain consistent color. Request sample panels before the full pour. Restrict access until sealing cures. Document the finished floor in natural light for future marketing.
Moving Forward
Identify the rooms where color and pattern will create the greatest impact. Obtain multiple quotes from experienced installers and review their project portfolios. Verify subfloor moisture levels and confirm warranty terms before proceeding.