Understanding the Value Boost from EV Chargers by 2026
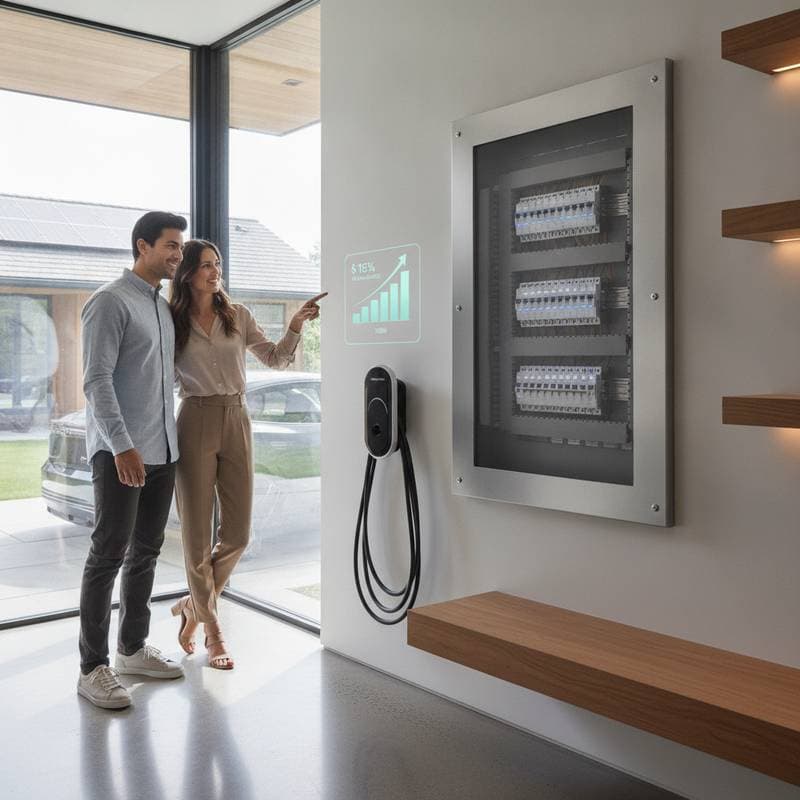
Homeowners who install a Level 2 EV charger can anticipate an increase in property value ranging from $8,000 to $12,000 by 2026. This enhancement stems from growing buyer demand for homes equipped with electric vehicle infrastructure. Such installations demonstrate a commitment to modern energy solutions, reduced operational expenses, and preparedness for sustainable living trends.
Even individuals without an electric vehicle benefit from this upgrade. The presence of a charger broadens market appeal, drawing in prospective buyers who view it as a practical asset. Real estate experts note that properties with EV charging capabilities often command premium prices and experience shorter selling times in competitive markets.
Breaking Down Installation Costs
Charger Selection
Level 1 chargers connect to standard 120-volt outlets and typically cost less than $400. However, they provide slow charging speeds, often requiring overnight sessions for a full battery. In contrast, Level 2 chargers require a dedicated 240-volt circuit and range in price from $600 to $1,200, excluding labor. These models deliver faster charging, completing a full charge in four to eight hours, which aligns with daily routines.
Opt for smart chargers equipped with Wi-Fi connectivity and load-balancing features to add $200 to $400 to the cost. These advanced units allow remote monitoring via smartphone apps, schedule charging during off-peak hours for lower electricity rates, and integrate with home energy systems to optimize usage.
Electrical System Requirements
Many homes, particularly older ones, possess electrical panels that necessitate upgrades to support a Level 2 charger. Adding a new dedicated circuit might cost between $800 and $2,000, influenced by the required amperage, usually 40 to 50 amps. Professionals assess the panel's current load to ensure it can handle the additional demand without risking overloads.
If wiring must run through finished walls or ceilings, expect expenses of $200 to $600 for conduit installation. Homeowners should consult local building codes, as some jurisdictions mandate specific wiring types or conduit materials to prevent hazards like overheating.
Professional Labor and Regulatory Fees
Licensed electricians generally charge between $80 and $125 per hour for installation work. A straightforward setup in an accessible garage takes four to eight hours, keeping labor costs manageable. Complex projects, such as those involving panel expansions, may extend timelines and fees.
Permits represent another essential expense, varying from $50 to $250 based on municipal regulations. These ensure compliance with safety standards and often require inspections post-installation. Factor in these costs early to avoid delays during the permitting process.
Site-Specific Considerations
Proximity to the main electrical panel significantly impacts overall expenses. Installations in attached garages minimize wiring needs and hold costs down. For detached structures like garages or carports, trenching for underground lines can add $500 to $1,000, depending on distance and soil conditions.
Evaluate the parking area's layout to determine optimal placement. Chargers mounted on walls or pedestals must comply with clearance requirements, typically 18 inches from the ground and away from flammable materials, to facilitate safe vehicle access.
Optional Enhancements
Consider add-ons such as weatherproof enclosures, surge protection devices, or dual-port configurations, which range from $300 to $700. These features enhance durability and versatility, particularly in regions prone to harsh weather or for households with multiple electric vehicles.
Always allocate an additional 10 to 15 percent of the total budget for unforeseen issues, especially in homes built before 1980. Common surprises include outdated wiring or insufficient grounding, which demand immediate attention to maintain safety and code adherence.
Deciding Between DIY Installation and Professional Services
Scenarios for DIY Approaches
DIY installation suits experienced individuals under specific conditions. Proceed only if a 240-volt outlet already exists near the intended charging location. Confidence in mounting the charger unit and performing basic wiring connections is crucial, alongside the ability to adhere to electrical codes.
Essential preparations include shutting off power at the main breaker and verifying no voltage remains with a tester. This method saves on labor but demands meticulous attention to detail to prevent accidents.
When to Engage Professionals
Hire a licensed electrician for any project requiring new circuits, panel modifications, or compliance with local inspection mandates. These situations involve complex calculations for load balancing and grounding to avoid fire risks or system failures.
Professional involvement becomes non-negotiable if the home features aluminum wiring, which poses unique challenges, or if breakers show signs of overload. Electricians also handle warranty validations and rebate applications, streamlining the process.
Essential Safety Measures
Regardless of approach, prioritize safety equipment like insulated gloves, safety glasses, and a non-contact voltage tester. Implement proper grounding and install ground-fault circuit interrupter (GFCI) protection on the dedicated line.
Neglecting these precautions invites electrical shocks, fires, or failed inspections. In doubt, consult a professional to evaluate risks and ensure the installation meets national and local standards.
Ongoing Maintenance and Warranty Essentials
Level 2 chargers typically include warranties covering three to five years for parts and manufacturing defects. Select models with IP-rated enclosures for outdoor use, protecting against rain, dust, and temperature extremes.
Routine care involves keeping the charging cable elevated to prevent wear and inspecting connectors monthly for damage or corrosion. Use a soft, dry cloth to remove dust from ventilation slots, avoiding water or chemical cleaners that could compromise electronics.
Enhance longevity by integrating a whole-home surge protector and disconnecting during severe weather events like thunderstorms. For users with varying vehicle models, choose chargers with adjustable amperage settings to accommodate different battery sizes and charging needs.
Practical Steps to Install Your EV Charger
-
Assess Electrical Capacity: Examine your breaker panel for available slots and calculate total amperage to confirm it supports the charger's demands without exceeding 80 percent load.
-
Obtain Multiple Quotes: Contact at least two licensed electricians and inquire about their experience with EV installations, permit management, and assistance with rebate claims from utility providers or government programs.
-
Select the Appropriate Charger: Decide between plug-in models for flexibility or hardwired options for permanence, considering your garage layout and future vehicle plans.
-
Time the Project Strategically: Book installation during off-peak seasons to sidestep higher rates and scheduling conflicts, allowing ample time for any required approvals.
-
Maintain Thorough Records: Preserve all receipts, diagrams, and permit documents in a dedicated file, ready to present to appraisers or buyers as proof of the upgrade's quality and compliance.
Realizing Long-Term Benefits for Your Property
Investing in an EV charger transforms a standard home into a forward-looking asset. This upgrade not only streamlines daily charging for electric vehicle owners but also positions the property favorably in a market increasingly focused on sustainability. Homeowners enjoy faster sales, higher offers, and the satisfaction of contributing to cleaner transportation solutions, securing both immediate convenience and lasting value.