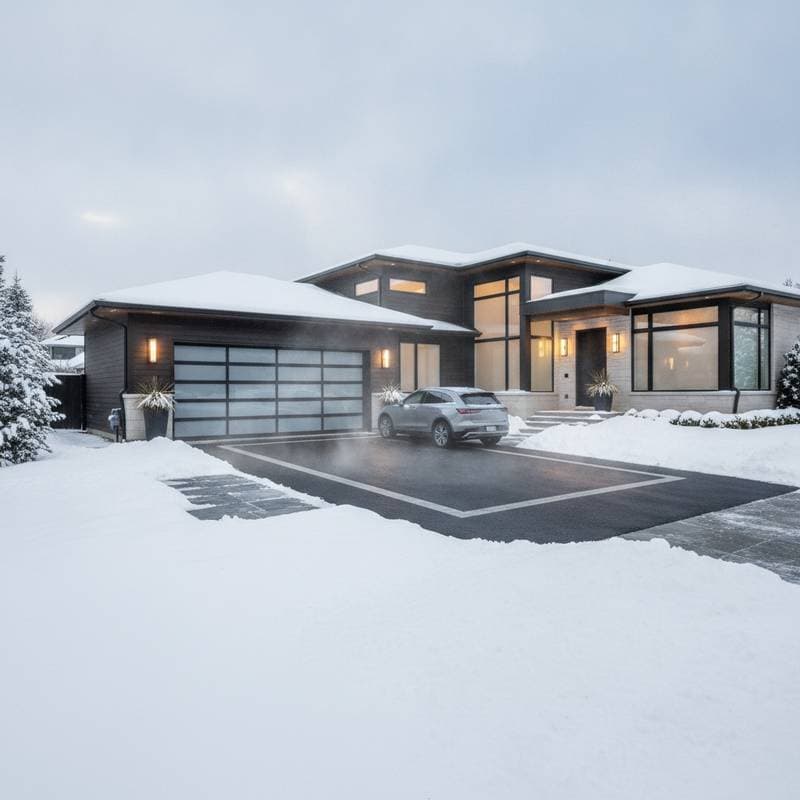
Boost Curb Appeal and Save 15 Percent on Water Fees with Permeable Driveways
Typical cost: $9,000 for a 600 square foot driveway, with potential savings of 15 percent on water and drainage fees over time.
Permeable driveways provide a clean, modern surface that allows water to drain naturally, preventing common runoff issues. These installations create a stylish entryway that endures in wet climates, ensures compliance with local codes, and reduces stormwater management expenses. Homeowners benefit from enhanced property aesthetics and long-term financial advantages.
Key Cost Factors
Understanding the breakdown of expenses helps in budgeting effectively for a permeable driveway project.
Materials
- Permeable pavers: Prices range from $4 to $8 per square foot. Concrete grid pavers offer affordability compared to premium stone or clay alternatives.
- Base gravel and bedding layer: Costs $1.50 to $2.50 per square foot. Selecting high-quality materials ensures optimal drainage and stability.
- Joint filler gravel: Ranges from $0.50 to $1.00 per square foot. Opt for washed, clean stone to maintain open water channels and prevent blockages.
Labor
- Excavation and grading: $2 to $4 per square foot. Professional teams verify that slopes and infiltration rates align with municipal regulations.
- Installation: $3 to $5 per square foot. Complex designs, such as custom patterns or navigating tight curves, increase labor demands.
Site Access Considerations
Challenges like narrow access points, steep slopes, or obstructive tree roots may require additional preparation, adding $500 to $1,500 to the total labor cost. Evaluate your property layout early to anticipate these extras.
Permits and Compliance
Certain municipalities recognize permeable surfaces in stormwater credit initiatives. Allocate $100 to $300 for permits, inspections, or certification processes to meet all requirements.
Disposal and Optional Enhancements
- Removal of old concrete: Expect $1,000 to $2,000, influenced by haul-away distance and volume.
- Edging or border pavers: $3 to $5 per linear foot, providing a polished, professional finish.
For older homes or properties with uneven soil, reserve an additional 10 to 15 percent of the budget for unforeseen adjustments.
Essential Safety and Compliance Measures
Verify that your permeable driveway design adheres to local drainage regulations before proceeding. In some regions, a licensed contractor must certify infiltration performance. Follow these protocols to safeguard the project:
- Contact utility locate services prior to any excavation to avoid underground hazards.
- Deactivate sprinkler systems and clearly mark irrigation lines to prevent damage.
- Equip workers with protective gear, including gloves, steel-toe boots, dust masks, and hearing protection.
- Ensure a minimum 1 percent slope directing water away from the foundation to avoid pooling.
- Maintain a base depth of 8 to 12 inches of compacted gravel for standard vehicle loads; increase depth for heavier trucks.
Neglecting these steps can lead to expensive corrections or persistent flooding problems.
Optimal Timing and Cost-Saving Strategies
Seasonal Planning
Installation typically requires 3 to 6 days under dry weather conditions. Precipitation can halt excavation and compaction efforts, while material deliveries may extend the timeline by 1 to 2 days based on supplier availability.
Strategies to Minimize Expenses
- Arrange installation during off-peak seasons, such as cooler months, when contractors may apply discounts of 5 to 10 percent.
- Secure materials in advance, as specialty pavers often require 2 to 4 weeks for delivery.
- Inquire about stormwater credits from local authorities; rebates can reach $1 per square foot for verified permeable installations.
These driveways lower ongoing maintenance expenses by 15 percent through reduced drainage repairs and extended surface durability.
Common Issues and Prevention Tactics
Anticipating potential problems allows for proactive maintenance and longevity.
- Clogged joints: Debris like leaves and dust accumulates in gaps. Mitigate this with routine sweeping using a stiff broom.
- Base settling: Occurs due to inadequate initial compaction. Address it by compacting subsoil in layered stages during construction.
- Edge drift: Pavers shift laterally over time. Stabilize with robust edging materials or concrete restraints.
- Moss growth: Thrives in shaded, moist spots. Clean with a solution of diluted vinegar or mild detergent, avoiding chemicals that could contaminate runoff.
Regular inspections every six months help identify issues early.
Selecting the Ideal Permeable System
Choosing the right option depends on your site's unique characteristics and needs.
- Evaluate soil composition: Sandy or loamy soils facilitate quicker drainage than dense clay types.
- Assess vehicle traffic: Standard passenger cars suit smaller pavers; opt for reinforced grid systems for frequent heavy loads.
- Factor in upkeep requirements: Concrete-based systems demand less frequent attention than loose gravel alternatives.
- Consult local ordinances: Verify that selected products qualify for stormwater incentives in your area.
- Prioritize infiltration capacity: Select systems exceeding 100 inches per hour to maximize water management efficiency.
Consulting with experts during selection ensures compatibility and performance.
Implementation Guide
Detailed Steps for Homeowners
Follow this sequence to execute a successful permeable driveway installation.
- Plan and Measure
- Draw a precise layout of the driveway.
- Note all dimensions and critical slope indicators.
- Determine the intended drainage pathways.
- Prepare the Site
- Clear away existing pavement, roots, and debris.
- Excavate to a depth of 8 to 12 inches, adjusted for soil conditions.
- Compact the subgrade thoroughly using a plate compactor.
- Construct the Base
- Layer crushed stone in 3-inch increments, compacting each level.
- Spread and level the bedding gravel for a uniform foundation.
- Install Pavers or Grid System
- Begin placement from the lowest edge.
- Maintain consistent gaps with spacers.
- Trim pavers at boundaries using a masonry saw for precise fits.
After installation, allow 24 to 48 hours for settling before vehicle use.
Advancing Your Project
- Conduct a soil and slope assessment promptly. Perform a simple infiltration test by pouring water into a dug hole and timing drainage.
- Obtain quotes from at least three certified installers, inquiring about base specifications, compaction techniques, and warranty details.
- Examine material samples under natural light to gauge color variations, especially when wet.
- Contact your local water authority to explore available rebates or credits for eco-friendly driveway upgrades.
Implementing a permeable driveway not only elevates your home's exterior but also contributes to sustainable water management, yielding measurable savings and environmental benefits over the years.