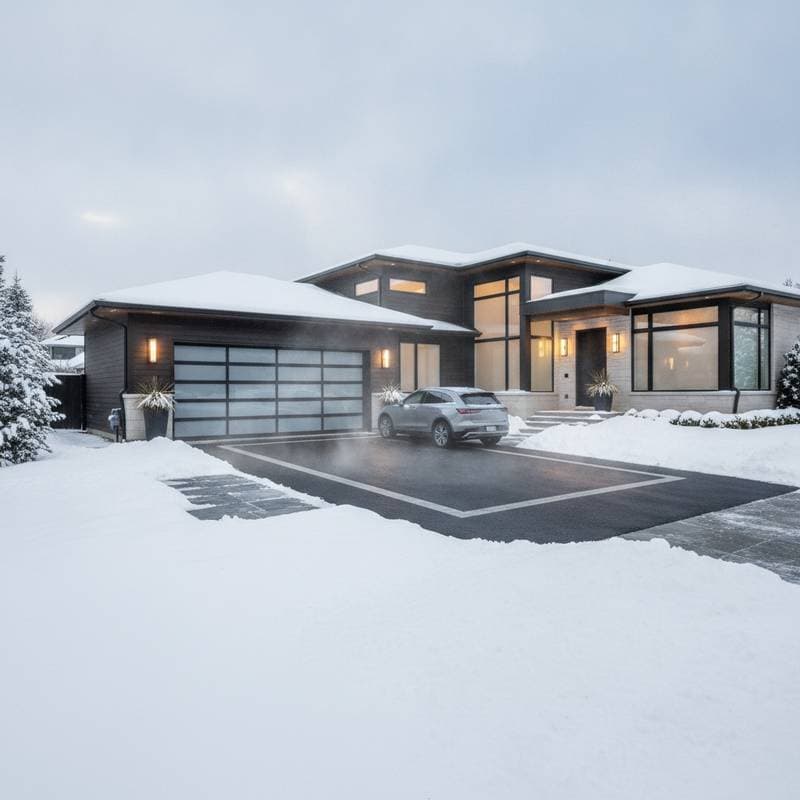
Heated Driveways Deliver 73% ROI Through Enhanced Resale Value
Heated driveways provide a practical solution for winter challenges, returning 73% of installation costs upon resale while cutting snow removal expenses and extending pavement longevity. For a standard two-car driveway, expect total costs around $13,000. This upgrade enhances home appeal in regions with harsh winters, combining convenience with substantial financial benefits.
Key Cost Considerations
Several factors influence the overall expense of installing a heated driveway system. Understanding these elements allows homeowners to budget accurately and select the most suitable option.
Material Selection
Electric heating mats prove more affordable for installation, ranging from $10 to $15 per square foot. Hydronic systems, which circulate heated water through tubing, cost between $12 and $20 per square foot. Although hydronic setups require higher initial investment, they often reduce energy consumption when integrated with an efficient boiler system.
Driveway Dimensions and Design
A basic 400-square-foot single-lane driveway begins at approximately $6,000. Larger or irregularly shaped driveways elevate material and labor requirements. Additional 100 square feet typically adds $1,200 to $1,800 to the total.
Surface Preparation and Replacement
Replacing existing concrete or asphalt involves demolition and disposal fees of $3 to $5 per square foot. Paver surfaces demand careful lifting and reinstallation, which increases labor time and complexity.
Power and Control Integration
Electric systems connect directly to the home's electrical panel. Hydronic installations necessitate a boiler, pump, and manifold, contributing $2,000 to $4,000 extra. Smart controls that detect temperature and moisture add $400 to $800 but promote energy savings over time.
Regulatory Requirements
Local permit fees range from $150 to $300. Certain areas mandate electrical inspections prior to system activation.
Optional Extensions
Extending heating to walkways or entry steps costs about $700 to $1,000 per 50 square feet, broadening the system's utility.
Installation: DIY Elements Versus Professional Expertise
Homeowners can manage certain aspects of installation, but technical components require certified professionals to ensure safety and performance.
Manageable DIY Tasks
- Prepare and demolish the surface using appropriate tools.
- Install electric mats or hydronic tubing following supplier instructions.
- Reinstall pavers once the system passes initial tests.
Essential Professional Services
- Licensed electricians handle all wiring connections.
- Certified plumbers manage hydronic installations, including pressure testing and boiler linkage.
- Skilled contractors oversee concrete or asphalt pours to achieve uniform coverage over heating components.
Associated Risks
Electric systems carry moderate risk with proper preparation. Hydronic setups involve higher risk due to fluid pressure and temperature controls. Damage from kinked tubing or severed mats may necessitate complete system replacement.
Required Tools
- Concrete saw, compactor, and trowels for surface preparation.
- Multimeter for verifying electrical continuity.
- Pressure gauge for detecting leaks in hydronic lines.
Ongoing Maintenance and Warranty Details
Regular upkeep preserves system efficiency and prevents costly repairs. Warranties vary by component, offering long-term protection when installation adheres to standards.
Seasonal Inspections
Examine control panels annually in the fall. Verify sensor operations and remove any accumulated debris. Hydronic systems benefit from line flushing every three to five years to eliminate sediment.
Surface Protection Guidelines
Avoid metal shovels or sharp implements on heated areas. Promptly address cracks or punctures to safeguard underlying wiring or tubing.
Warranty Coverage
- Electric cables receive 10-year protection.
- Hydronic tubing offers 25-year warranties with certified installation.
- Controllers come with three- to five-year terms based on the model.
Frequent Issues and Prevention
Improper pour depth often damages cables. Exposed sensors may corrode from moisture. Initial boiler setup errors lead to leaks.
Longevity Strategy
Seal expansion joints thoroughly to block moisture ingress. This practice can extend the driveway surface life by at least five years.
Steps to Implement Your Heated Driveway
- Assess Electrical Capacity. Engage an electrician to evaluate panel load for the additional draw. Service upgrades, if needed, range from $1,000 to $2,500.
- Solicit Detailed Quotes. Obtain breakdowns for both electric and hydronic systems, focusing on complete installation costs rather than per-square-foot rates.
- Secure Permits in Advance. Verify requirements for electrical and mechanical approvals, as delays may extend timelines by a week or longer.
- Time Installation for Early Fall. This avoids frozen soil and compressed scheduling periods.
- Incorporate a Buffer in Budgeting. Allocate 10% to 15% for unforeseen issues such as sub-base damage or weather interruptions.
Heated driveways shift the focus from reactive winter maintenance to proactive property enhancement. They reduce clearing costs, preserve pavement integrity, and elevate market value in snowy locales. With meticulous planning and expert involvement in critical phases, this system operates reliably beneath the surface, providing decades of winter reliability and homeowner peace of mind.