
Heated Driveways: Accelerate Winter Home Sales by 15 Percent
Typical cost: $14,000 for a complete driveway system, with projects generally ranging from $6,000 to $24,000 based on size and surface material.
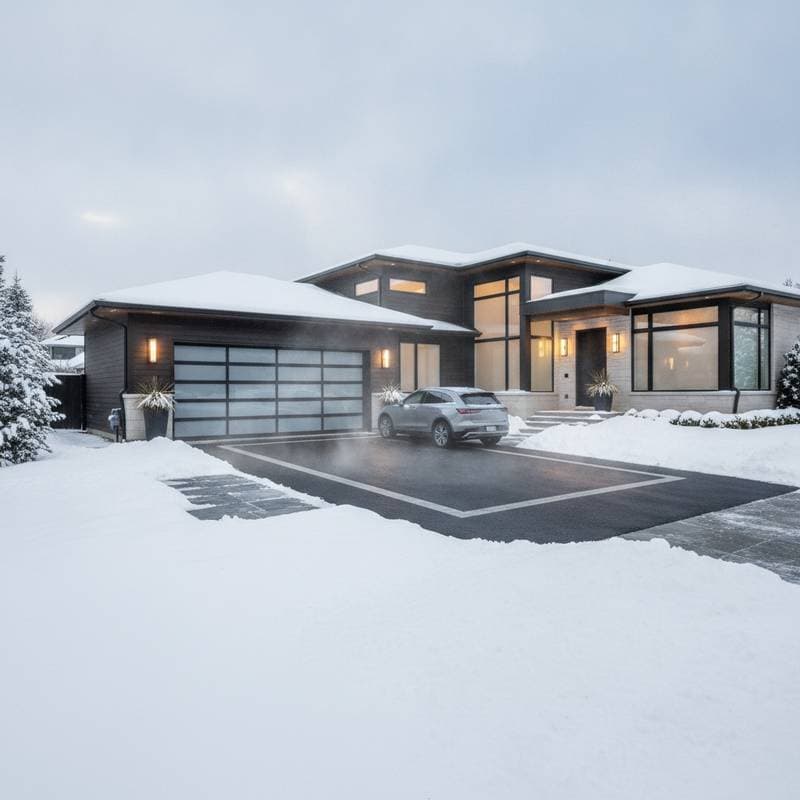
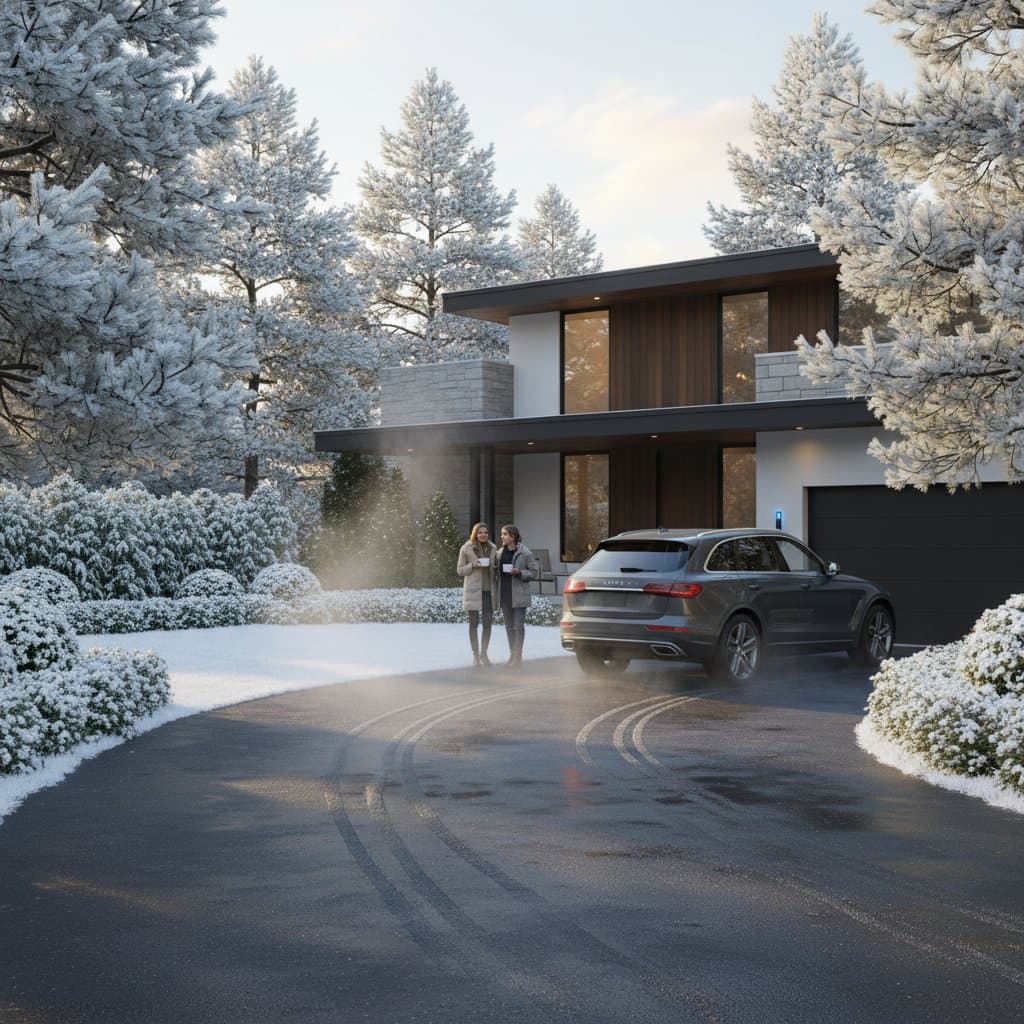
Heated driveways automatically melt snow and ice to ensure safe access during harsh winters. These systems employ electric cables or hydronic tubing embedded beneath the pavement to generate warmth, eliminating the need for manual shoveling or chemical de-icers. Beyond functionality, they enhance curb appeal, positioning properties as premium options that attract buyers and reduce time on the market by up to 15 percent in cold climates.
Factors Influencing Installation Costs
Multiple elements shape the overall expense of a heated driveway system. Homeowners benefit from a clear understanding of these components to develop realistic budgets and minimize unforeseen expenses.
Driveway Dimensions and Layout
Larger driveways or those with irregular shapes demand extended lengths of heating cable or tubing, which increases material and labor requirements. For instance, a standard straight driveway accommodating one vehicle typically incurs lower costs compared to expansive, multi-bay designs with curves or slopes.
Type of Heating System
- Electric cable systems cost between $12 and $22 per square foot on average. Installers favor these for smaller spaces or retrofit projects due to their straightforward setup and compatibility with existing structures.
- Hydronic systems circulate heated water through embedded tubing and range from $14 to $30 per square foot. Professionals recommend them for expansive areas or frequent use, though they necessitate additional equipment like boilers and circulation pumps.
Pavement Material Selection
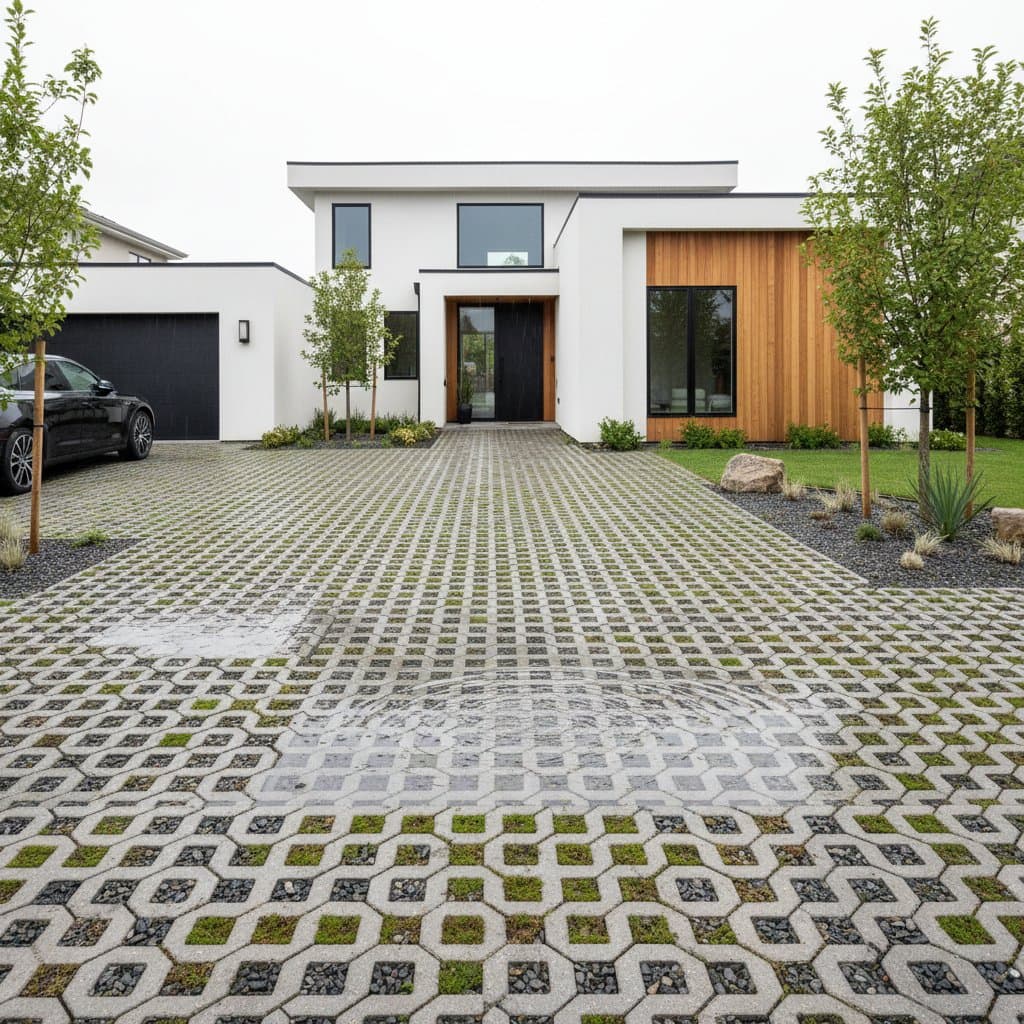
Concrete excels at distributing heat uniformly, making it the material of choice for optimal performance. Asphalt serves as a viable alternative but requires precise temperature management to prevent distortion during the heating phase. Paver stones introduce aesthetic variety yet elevate expenses through increased labor for precise alignment and sealing of joints.
Electrical and Control Components
Snow sensors that activate the system automatically, paired with programmable thermostats, add $500 to $1,200 to the total. These features promote energy efficiency by engaging the heat only during precipitation or subfreezing temperatures.
Labor Demands and Site Conditions
Challenging site access or the demolition of existing surfaces can inflate labor charges by 20 percent or greater. Properties with limited space, steep inclines, or proximity to utilities often involve supplementary excavation or specialized formwork to accommodate the installation.
Regulatory Fees and Compliance
Local permits and inspections typically range from $150 to $500, with higher amounts possible if electrical service upgrades prove necessary. Contractors must verify adherence to building codes specific to outdoor heating installations to avoid delays.
Supplementary Features and Reserves
Allocate an additional 10 to 15 percent of the budget for potential electrical enhancements, repairs to subsurface issues like cracks, or adjustments due to inclement weather during construction.
Professional Installation Versus DIY Approaches
Tasks Suitable for DIY Efforts
Homeowners with relevant experience can handle preliminary steps such as clearing old pavement, establishing edge forms, or positioning conduits for sensors under professional guidance. Post-installation, applying a protective concrete sealer once the surface cures falls within reach for many.
Scenarios Requiring Professional Expertise
Entrust the placement of electric heating mats or hydronic tubing to certified installers, along with connections to high-voltage electrical lines or boiler systems. Similarly, the integration of automated sensors and control interfaces demands specialized knowledge to ensure reliability.
Potential Risks of Improper DIY Execution
Incorrect cable routing may result in inconsistent snow melting or physical damage to components. A single electrical fault could compromise the entire network, while plumbing errors in hydronic setups lead to leaks. Such missteps not only invalidate manufacturer warranties but also risk non-compliance with safety regulations.
Required Skill Level
Preparation tasks suit individuals with intermediate to advanced abilities, whereas system integration calls for expert proficiency in electrical and plumbing disciplines.
Essential Safety Precautions
Wear insulated gloves and sturdy boots to protect against hazards. Use eye protection during cutting or pouring activities, and rely on ground-fault circuit interrupter (GFCI) outlets for all power sources. Conduct thorough ground fault tests prior to activating the system to prevent electrical incidents.
Neglecting these measures exposes users to dangers including electric shocks, fluid leaks, or structural failures when temperatures drop.
Ongoing Maintenance and Warranty Coverage
Heated driveways demand minimal routine upkeep compared to traditional methods, yet proactive inspections preserve longevity and performance.
Standard Maintenance Procedures
Inspect control panels and sensors at the onset of winter to confirm operational integrity. For hydronic models, flush the tubing lines every two to three years to eliminate mineral deposits. Regularly check electrical junctions for signs of corrosion, and refresh sealers or protective coatings on the surface every three to five years.
Warranty Details
Electric heating cables typically include a 10-year limited warranty against defects. Hydronic tubing often extends to 25 years when installed according to manufacturer specifications. Control units and sensors generally receive coverage for two to five years.
Frequent Points of Failure
Cracks in the concrete slab can sever embedded cables, disrupting heat distribution. Soil movement may cause leaks in hydronic loops over time. Malfunctioning sensors risk continuous operation, leading to excessive energy consumption.
Most problems arise from rigid expansion joints or surface stress caused by heavy equipment. Maintain flexible joints and restrict vehicular loads to mitigate these risks.
Steps to Implement a Heated Driveway System
Evaluate Current Driveway Integrity
Begin by assessing the existing surface for cracks, spalling, or unevenness. If significant damage exists, opt for a complete replacement rather than attempting a retrofit, which often yields short-term results.
Obtain Multiple Bids from Qualified Contractors
Solicit estimates from at least three reputable installers, requesting details on coverage zones, system specifications, and required electrical load or boiler capacity. Evaluate proposals based on total cost, warranty terms, and availability of ongoing support services.
Verify Infrastructure Compatibility
Examine the home's electrical panel for sufficient capacity; upgrades may prove essential for electric systems. Hydronic installations require a boiler equipped to handle external loops without straining domestic hot water supply.
Time Installation for Optimal Conditions
Plan the project during dry, mild weather to facilitate proper concrete adhesion and precise component placement. Avoid rainy or subfreezing periods that could compromise the embedment process.
Conduct Initial System Testing
After the pavement cures fully, activate the heating elements for a short trial run. Monitor sensor activation and confirm uniform warmth across all designated areas to identify any irregularities early.
Monitor Performance and Efficiency
Utilize smart controls to record operational hours and detect anomalies such as potential leaks or inefficiencies. This information not only optimizes daily use but also provides compelling evidence of the system's value when marketing the property.
Realizing the Full Benefits of Heated Driveways
Measure your driveway's dimensions to calculate square footage accurately, then determine whether to heat the entire area or focus on high-traffic zones like walkways. Prioritize automatic snow-melting technology in your next home improvement project to enhance safety, reduce seasonal labor, and underscore premium features that expedite sales. This investment transforms winter challenges into seamless advantages, elevating both livability and market desirability.