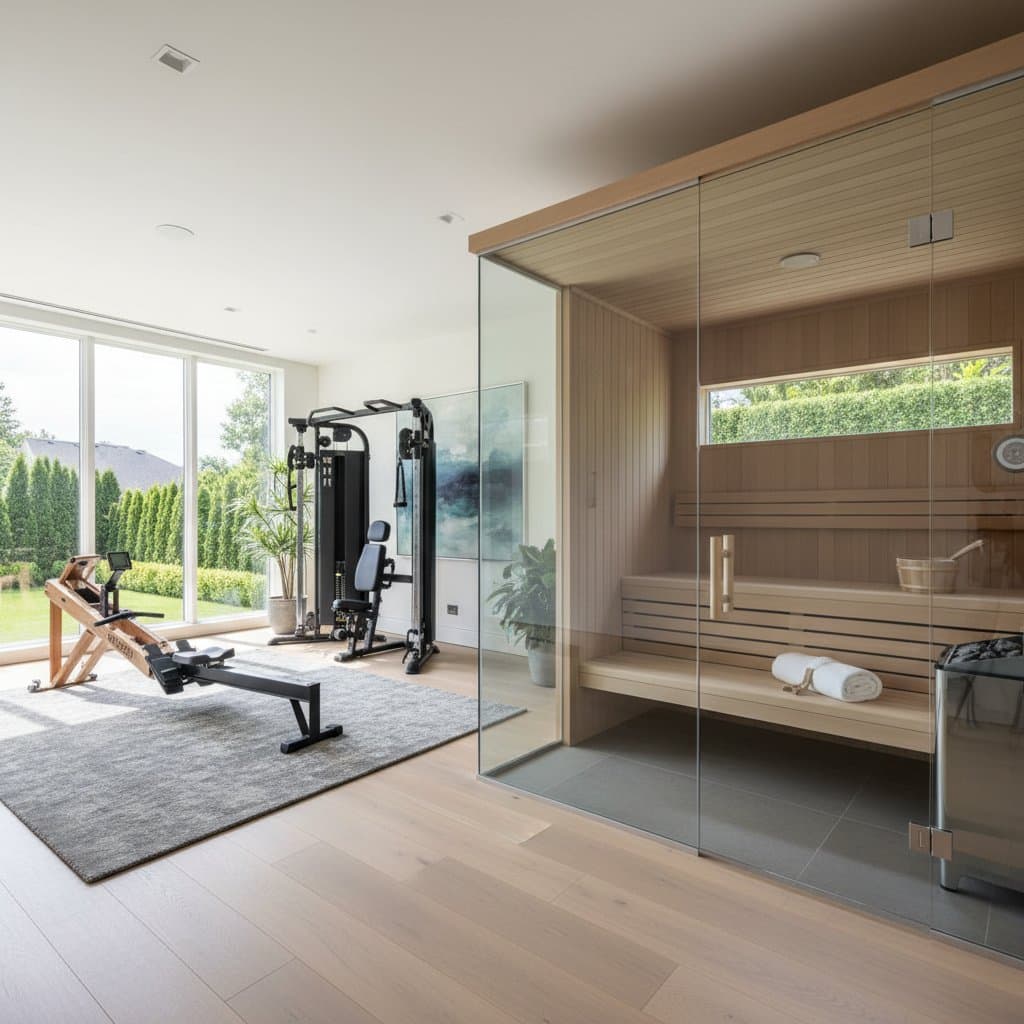
Home Gym Saunas: Projected 11 Percent Value Increase by 2026
Key Insight: A professionally installed home gym sauna enhances property value by approximately 11 percent, with installation costs typically ranging from $6,000 to $15,000 based on size, materials, and features.
Home gym saunas combine wellness benefits with smart home improvements. These features appeal to buyers seeking luxury amenities that promote relaxation and fitness. Projections indicate that by 2026, such additions will significantly elevate resale prices in competitive markets.
Understanding Cost Factors
Several elements influence the overall expense of installing a home gym sauna. Homeowners must consider materials, dimensions, heating systems, and supporting infrastructure to develop an accurate budget.
- Materials Selection: Opt for durable woods like cedar or hemlock, which withstand high humidity and resist deformation. These premium options range from $35 to $60 per square foot, offering longevity and aesthetic appeal compared to basic alternatives.
- Size and Configuration: Compact units measuring 4 by 6 feet accommodate one or two people and cost around $5,500 once installed. Larger designs, such as 6 by 8 feet, can double the price due to increased material needs and labor.
- Heating Mechanisms: Traditional electric heaters, the standard choice, cost between $900 and $1,800 and provide even heat distribution. Infrared panels, priced at about $1,200, offer energy efficiency and gentler warmth, ideal for extended sessions.
- Electrical and Ventilation Systems: Essential upgrades include dedicated circuits, exhaust vents, and proper insulation, adding $800 to $2,000. These components ensure safe operation and prevent moisture-related issues.
- Permits and Inspections: Local regulations require permits for structural changes, with fees of $200 to $400. Compliance verifies that the installation meets safety standards.
- Site Preparation and Disposal: Clearing existing flooring or installing moisture barriers incurs costs of $300 to $600. In older properties, unforeseen challenges like asbestos removal may arise.
Allocate an additional 10 to 15 percent of the budget for contingencies, particularly in homes with outdated wiring or uneven floors. Detailed planning minimizes surprises and supports a smooth project execution.
Deciding Between DIY and Professional Installation
Homeowners with relevant skills may tackle installation themselves, but many factors determine feasibility. Evaluate your expertise and the project's complexity before proceeding.
Conditions Suitable for DIY:
- Prefabricated kits arrive with step-by-step guides, simplifying assembly.
- The designated space features finished walls, sufficient electrical capacity, and existing ventilation.
- You possess necessary tools, including safety equipment, and understand how to create airtight seals.
Indicators for Hiring Professionals:
- New electrical wiring or breaker panels demand certified expertise to avoid hazards.
- The area requires moisture-resistant barriers or enhanced airflow systems.
- Plans involve custom elements like integrated tiling or specialized framing.
This project requires intermediate proficiency in carpentry and basic electrical work. Risks include electrical malfunctions or mold growth from improper sealing, which could lead to costly repairs. Professionals guarantee compliance and reduce liability, often justifying the added expense through superior results.
Project Timeline and Cost-Saving Strategies
Installation typically spans 2 to 5 weeks, accounting for material procurement and curing periods. Efficient scheduling prevents disruptions to daily routines.
- Initiate orders during early spring to sidestep seasonal supply chain bottlenecks for heaters and wood.
- Inquire about utility rebates for energy-efficient models, such as low-wattage heaters or LED lighting, which lower long-term operating costs.
- Arrange inspections promptly, as electrical approvals may extend the timeline by one week.
Prioritize robust ventilation in your design. This investment averts future maintenance issues and prolongs the lifespan of heating elements, delivering sustained value.
Ongoing Maintenance and Warranty Essentials
Regular upkeep preserves the sauna's functionality and appearance, ensuring it remains a desirable feature. Simple routines prevent common problems like bacterial growth or material degradation.
- Wipe benches and walls each week using a diluted vinegar solution to eliminate moisture and inhibit mold formation.
- Examine heating elements biannually for mineral deposits, cleaning as needed to maintain efficiency.
- Use only bulbs rated for humid environments when replacements become necessary.
- Apply sauna-specific oils yearly to the wood surfaces, protecting against dryness and splits.
Heaters generally carry warranties of 3 to 5 years, while structural wood components often include lifetime limited coverage. Retain all documentation, including receipts and service records, to strengthen claims and enhance property documentation for future sales.
Prioritizing Safety and Regulatory Compliance
Safety forms the foundation of any sauna installation. Adhering to guidelines protects users and upholds property standards.
- Disconnect the primary power supply prior to handling any electrical tasks.
- Equip yourself with gloves, protective eyewear, and a respirator during cutting or sealing activities.
- Scan for hidden plumbing lines in gym walls before penetrating surfaces.
- Incorporate ground fault circuit interrupter outlets for every electrical fixture.
- Obtain permits for wiring additions, exterior venting, or frame modifications.
Neglecting ventilation or skipping inspections invites expensive fixes and diminishes resale potential. Certified installations demonstrate due diligence, appealing to discerning buyers.
Steps to Launch Your Sauna Project
Transform your home gym with a sauna that delivers immediate relaxation and future financial gains. Follow these steps to ensure a successful outcome.
- Assess Your Space: Measure dimensions accurately and verify ceiling clearance exceeds 7 feet for optimal heat circulation.
- Solicit Quotes: Contact at least two licensed installers or electricians for detailed estimates.
- Consult Local Codes: Research requirements for humidity control and electrical loads in your area.
- Evaluate Heaters: Compare energy efficiency ratings to select a model that balances performance and utility bills.
- Time the Work: Book during mild weather to facilitate quicker drying and regulatory reviews.
This enhancement provides daily wellness opportunities while positioning your property for that anticipated 11 percent value uplift by 2026. Thoughtful execution maximizes both enjoyment and investment returns.