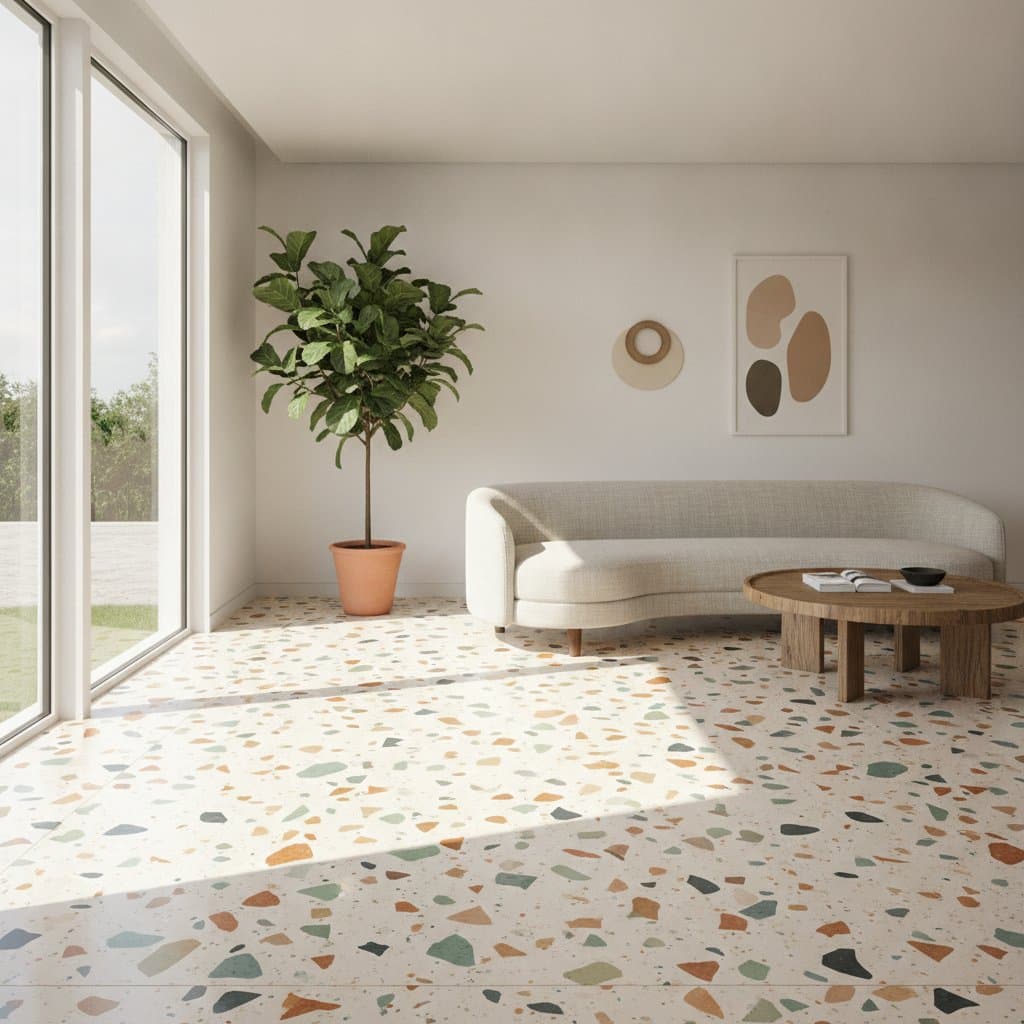
Clay Plaster: The 2026 Trend That Boosts Home Value by 6 Percent
Clay plaster transitions from a specialized choice to a widespread preference in home design. Homeowners who select this material observe an increase in resale value of up to six percent. The finish delivers distinctive texture, rich color variations, and effective natural humidity regulation, elements that appeal immediately to potential buyers. This versatile option combines aesthetic appeal, enhanced comfort, and superior indoor air quality within a single application.
Steps to Apply Clay Plaster on Walls
Proper preparation ensures a durable and attractive result. Begin by assessing the wall surface to identify any underlying issues such as cracks or unevenness.
-
Prepare the surface. Thoroughly clean the wall to remove dust, grease, and loose material. Strip away glossy paints or sealers, as clay plaster adheres best to a porous, slightly rough substrate. Repair minor imperfections with a suitable filler and allow it to cure fully.
-
Apply the base coat. Select a clay-based primer or base layer compatible with your finish. Spread it evenly using a notched trowel or a wide roller, aiming for uniform coverage without drips. Allow the base to dry completely, which may take 24 hours depending on environmental conditions.
-
Prepare the finish plaster mixture. Blend clay powder with fine sand and water in a clean bucket until the consistency resembles thick yogurt. Adjust ratios based on the manufacturer's recommendations to achieve optimal workability. Incorporate natural pigments at this stage if desired for custom coloration.
-
Apply the initial finish layer. Use a steel trowel to spread a thin layer, approximately one-eighth of an inch thick. Work in sections to maintain even pressure and avoid lap marks. Feather edges lightly to prepare for subsequent layers.
-
Allow partial drying. Permit the first layer to set until it reaches a leather-hard state, firm to the touch yet still slightly pliable. This typically requires four to six hours. Test readiness by pressing gently; the surface should resist indentation without cracking.
-
Apply the final coat. Spread the second layer with broader strokes for smoothness or varied techniques for texture, such as stippling or swirling. Build depth gradually to enhance the material's natural variations.
-
Finish and burnish. Once the final coat firms, smooth with a damp sponge for a matte look or use a burnishing trowel for subtle sheen. Avoid overworking to prevent disturbing the underlying structure.
The application process demands careful timing, yet it yields a cohesive surface that responds dynamically to lighting. Each layer integrates seamlessly, fostering a sense of depth and vitality in the finished wall.
Time Required for Application
Completing a small room demands two to three days of hands-on effort. Additional drying periods between coats extend the total timeline by another two days. For larger spaces or intricate designs, allocate up to one week to accommodate all phases.
Environmental factors influence drying rates significantly. Warm, arid conditions accelerate the process, while high humidity prolongs it. Professionals advise monitoring moisture levels to prevent defects like cracking, emphasizing deliberate pacing over haste.
Choosing Between DIY and Professional Installation
Opt for DIY when:
- Prior experience with plastering or drywall installation exists.
- Enjoyment derives from meticulous, hands-on tasks.
- The project limits to a single small room or an accent feature.
Engage a professional when:
- Uniform texture across expansive areas is essential.
- Structural concerns like cracks or dampness require expert assessment.
- Advanced techniques, such as multilayered colors or polished effects, are planned.
Skilled applicators excel in managing drying dynamics and integrating pigments uniformly. They navigate local regulations adeptly, particularly in shared housing where permits might apply for surface modifications. Always consult product warranties, as incorrect methods could compromise coverage on base materials.
Factors Contributing to Increased Home Value
Prospective buyers gravitate toward organic materials that promote wellness and individuality. Clay plaster excels in humidity moderation and conceals minor surface flaws effectively. Its tactile qualities enhance visual appeal in photographs, justifying elevated listing prices.
Real estate professionals note quicker sales for properties featuring clay or lime plasters, attributing this to an aura of bespoke quality. The six percent valuation uplift stems from heightened perceptions of artistry, sustained occupant comfort, and reduced long-term upkeep. Eco-conscious markets amplify this benefit, as the material aligns with sustainable living preferences.
Safety Considerations and Maintenance Practices
This material poses minimal health risks once installed, remaining free of toxins and airborne particles. It contains no volatile organic compounds, supporting cleaner indoor environments. During preparation, don a mask to shield against fine dust from mixing or sanding, which might otherwise irritate respiratory passages.
Maintain stable humidity indoors to preserve integrity. Arid conditions occasionally lead to fine fissures, resolvable with a light water mist. Clean routinely with a moist cloth, steering clear of abrasive or chemical agents that could erode the surface.
In regions susceptible to flooding, refrain from applying to low-level basement areas. The plaster's absorbency renders it vulnerable to prolonged moisture, potentially leading to softening or degradation.
Adapting to Regional Climates and Regulations
Arid environments benefit from clay plaster's ability to retain indoor moisture equilibrium. Coastal settings leverage its resilience against fluctuating humidity. In colder climates, integrate a vapor-permeable barrier behind the substrate to optimize performance.
Building authorities vary in oversight; some classify it as a non-structural overlay exempt from permits, while others mandate reviews for extensive applications. Verify requirements locally prior to commencement. For sun-exposed interiors, select UV-resistant mineral pigments to sustain vibrancy.
Expert Recommendations for Optimal Results
- Experiment with hues on a test patch, noting that drying alters wet appearances to lighter tones.
- Clean tools promptly after use to eliminate dried residues that mar subsequent applications.
- Lightly dampen adjacent edges before adjoining fresh plaster, minimizing visible joints.
- Cover unused mixtures with plastic sheeting for reuse within 48 hours.
- Address fissures promptly by moistening and reapplying plaster, ensuring seamless integration.
Frequently Asked Questions
Does clay plaster require a sealant?
In most cases, sealing is unnecessary to preserve its breathability. Apply a natural wax sparingly if enhanced durability against handling is desired.
Implementing Clay Plaster in Your Home
This finish imparts genuine warmth and artisanal character to walls, surpassing the uniformity of conventional paint. Expenses remain reasonable, aesthetics endure, and gains in livability and market worth prove substantial. Initiate with a focal wall to gauge the transformation, then scale to broader areas as confidence grows.